
To create personalized wall art on a budget, start with affordable materials like printable downloads, recycled fabrics, or thrifted frames. Get creative with meaningful photos, inspiring quotes, and mixed textures to reflect your style. Experiment with layouts and secure your pieces using simple hanging tools. Think sustainably by repurposing old items and choosing eco-friendly options. Keep exploring to discover more tips on designing stunning, budget-friendly decor that truly feels like you.
Key Takeaways
- Use affordable, versatile materials like printable downloads, posters, or recycled objects for personalized wall art.
- Incorporate meaningful photos, quotes, or handwritten notes to add personal significance.
- Experiment with layouts and arrangements on the floor or table before hanging to achieve balanced displays.
- Utilize thrifted, vintage, or DIY frames and eco-friendly printing options to stay within budget.
- Mix textures and materials, such as fabric, wood, or reclaimed elements, for a unique, eco-conscious decor.

KSALPCH Watercolor Landscape Printable Wall Art Abstract Landscape Download Diy Print Watercolor Painting Digital File Neutral Land and Colorful Abstract
As an affiliate, we earn on qualifying purchases.
As an affiliate, we earn on qualifying purchases.
Choosing the Right Materials for Your Artwork
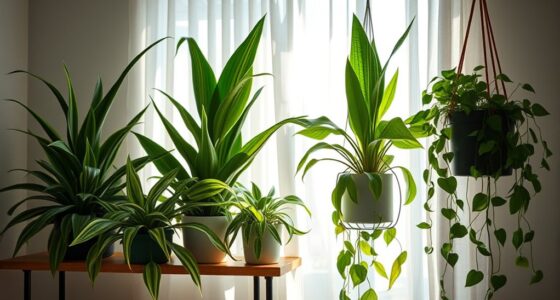
When selecting materials for your DIY wall art, it’s essential to contemplate both your aesthetic goals and budget. Start by choosing versatile, affordable options like printable digital downloads or posters, which you can print at home or locally for under $10. Consider using recycled or eco-friendly materials such as reclaimed wood, recycled canvas, or soy-based inks to align with sustainability trends. If you want a modern look, metal wall art or acrylic sheets are durable and striking. For a textured feel, incorporate mixed media like fabric, washi tape, or 3D objects. Keep in mind the style you aim for—minimalist, boho, or eclectic—to select appropriate textures and finishes. Balancing quality and cost ensures your artwork remains both beautiful and budget-friendly. Additionally, incorporating Pimple Patch inspired designs or themes can add a unique, playful element to your decor.

Rustic Barnwood Picture Frames 4×6 – Set of 2 – Natural Reclaimed Wood Real Glass – Handcrafted Vintage Distressed, 1 3/4" Frame Width
SET OF 2: Pack of 2 4×6 Beautiful Handcrafted Barnwood Distressed Wooden Photo Frames with Real Glass
As an affiliate, we earn on qualifying purchases.
As an affiliate, we earn on qualifying purchases.
Inspiring Ideas for Personalized Designs
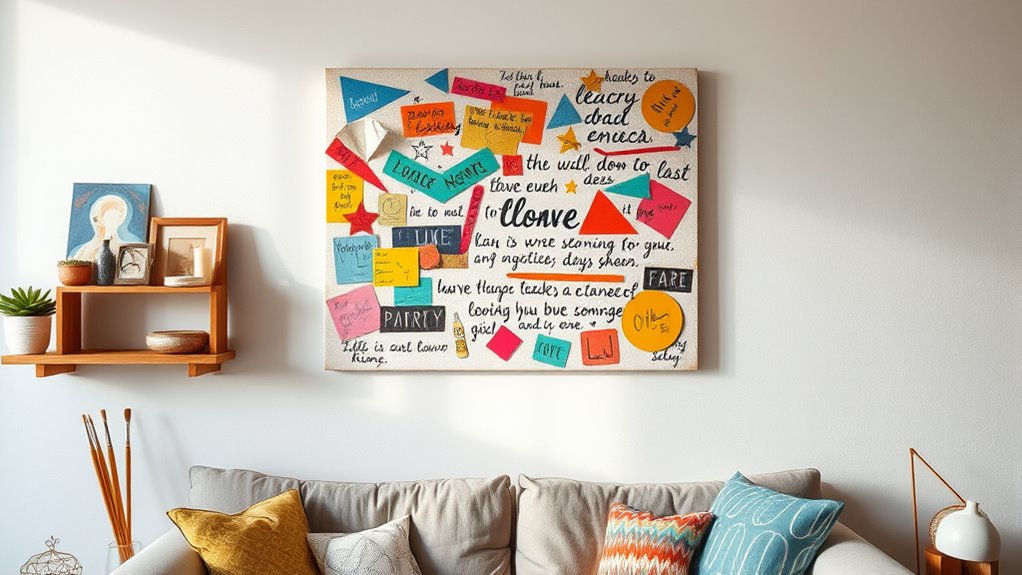
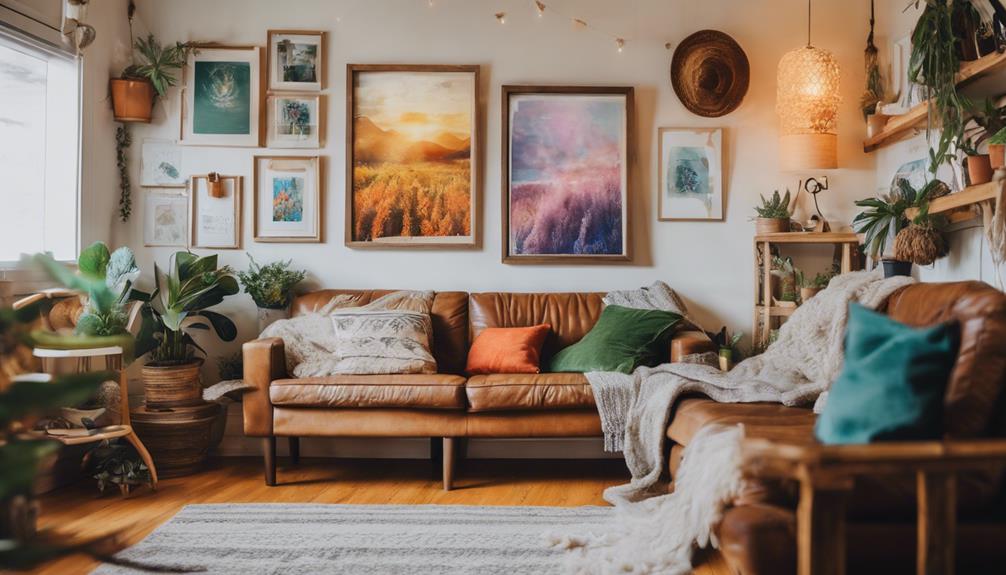
Personalized wall art transforms your space by reflecting your unique story and style. To achieve this, start with meaningful photos—whether travel memories, family moments, or pet portraits—and print or display them creatively. Incorporate inspiring quotes that resonate with you, using bold typography or hand-lettering techniques. Mix different textures and materials, like fabric, wood, or recycled objects, to add depth and interest. Create a visual narrative by combining colors and themes that mirror your personality or passions, such as music, nature, or hobbies. Personal touches like handwritten notes or artwork made by loved ones make your decor truly one-of-a-kind. Remember, the goal is to craft a space that feels authentic and inspiring, showcasing what matters most to you.

Throwbacktraits Canvas Motivational Wall Art – Set of 6 Inspirational Prints with Uplifting Phrases & Vibrant Images, Eco-Friendly & Framed, Ready to Hang for Office Wall Decor, Living Room & Bedroom Décor
📏 PERFECT SIZE & COLORFUL VISUALS Designed to captivate and inspire, each canvas measures about 12×16 inches (approx.),…
As an affiliate, we earn on qualifying purchases.
As an affiliate, we earn on qualifying purchases.
Step-by-Step Guide to Creating Your Own Wall Art

To create your own wall art, start by gathering materials that are easy to find and fit your style. Next, design your piece, whether by sketching, printing, or combining different elements, then assemble it with simple tools. This straightforward approach helps you craft personalized art that transforms your space effortlessly. Incorporate rustic decor elements to enhance the farmhouse charm and make your wall art truly unique.
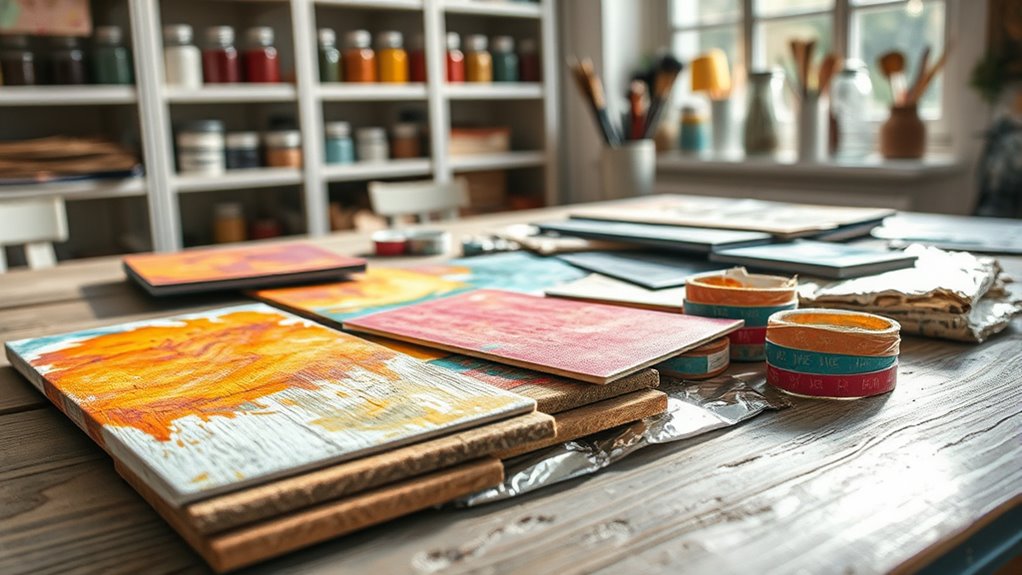
Gather Materials Easily
Creating your own wall art starts with gathering simple, accessible materials that won’t break the bank. You can find many supplies at home, thrift stores, or online for minimal cost. Look for inexpensive frames, canvases, or sturdy cardstock to serve as your base. Recycled materials like old magazines, fabric scraps, or leftover paint are perfect for adding texture and color. Printable art downloads from free or budget-friendly websites make it easy to get high-quality images without spending much. Craft stores often carry affordable brushes, paints, stencils, and adhesives. Don’t forget to check for deals or discounts online. Additionally, understanding asset division laws can help you manage shared resources effectively if you’re incorporating items from your home. With a little creativity and resourcefulness, you’ll have everything you need to start creating personalized wall art that reflects your style and fits your budget.
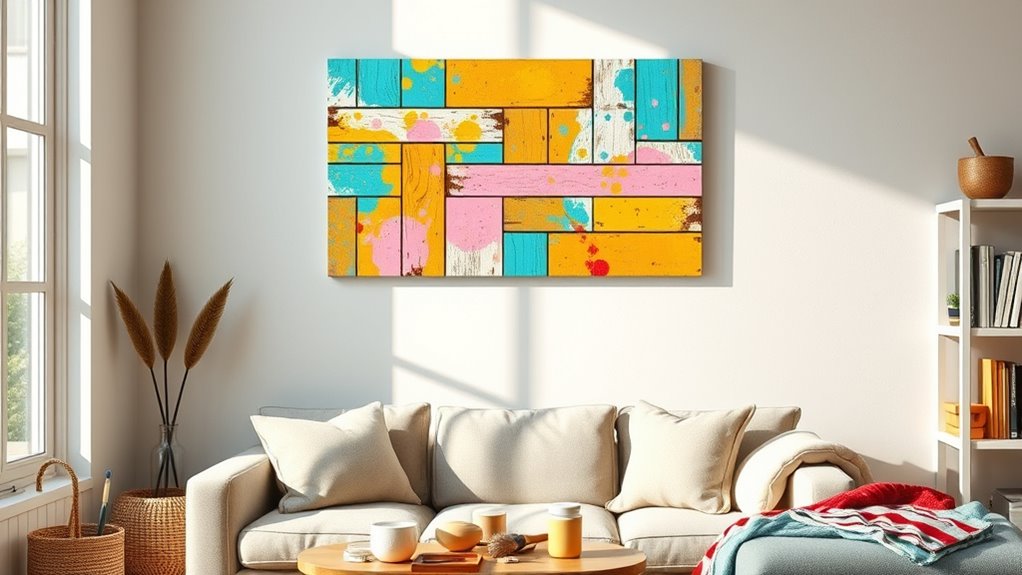
Design and Assemble
Designing and assembling your own wall art is a straightforward process that combines creativity with simple steps. First, choose a theme or style that complements your space—whether it’s abstract, nature-inspired, or typography. Gather your materials, like printed images, paints, or mixed media, based on your plan. Next, arrange your pieces on the floor or a table to experiment with layout; mix sizes, frames, and textures for visual interest. Once satisfied, secure your artwork using adhesive, frames, or mounting hardware. For gallery walls, start with the central piece and build outward, ensuring balance. Keep your design cohesive by sticking to a color palette or style. Additionally, store hours can influence when you purchase supplies, so check ahead to ensure availability. Finally, hang your art carefully, adjusting for level and spacing, and enjoy your personalized decor.

10 Pack Vintage Picture Frames for Wall or Tabletop Display Ornate Vintage Frames Gallery Wall Frame Set Vintage Wall Art for Gallery Bedroom Living Room Antique Photo Frame for Wall Décor(Classic)
Variety of Frame Sizes: This gallery wall frame set includes 10 French vintage photo frames in assorted sizes,…
As an affiliate, we earn on qualifying purchases.
As an affiliate, we earn on qualifying purchases.
Tips for Arranging and Displaying Your Pieces
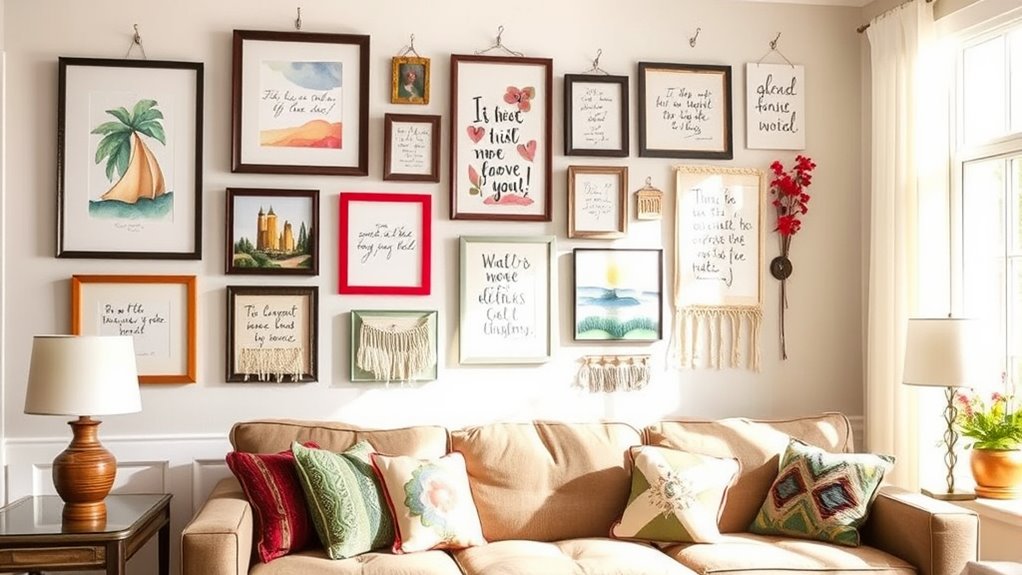
Arranging your wall art effectively can transform a space and showcase your personal style. Start by planning your layout on the floor or using paper templates on the wall. Keep a visual balance with a mix of sizes and shapes, avoiding clutter. Group related pieces to tell a story or create a theme. Use the table below for inspiration:
| Arrangement Style | Best For |
|---|---|
| Symmetrical | Formal, balanced look |
| Asymmetrical | Dynamic, casual vibe |
| Grid | Modern, clean aesthetic |
Experiment with spacing; typically, 2-4 inches between pieces works well. Hang at eye level for maximum impact, and don’t forget to step back and review your work before fixing in place. Incorporating visual balance techniques can further enhance your display’s harmony and appeal.
Budget-Friendly Ways to Enhance Your Gallery Wall

Enhancing your gallery wall on a budget is easier than you might think with simple, cost-effective strategies. Start by browsing free public domain prints online—these high-quality images require no cost and add visual interest. Print them at home or a local shop for under $10, and use inexpensive frames or even DIY frames from craft supplies. Mix vintage finds from thrift stores or secondhand shops for one-of-a-kind pieces that won’t break the bank. Consider using digital downloads or posters printed on cardstock instead of traditional canvases, saving money while maintaining style. Rotate your artwork seasonally or swap pieces to refresh the look without purchasing new art. Incorporating sustainable materials like recycled frames or eco-friendly printing options can also enhance your decor while supporting environmentally conscious practices. These small changes create a vibrant, personalized gallery wall without overspending.
Incorporating Sustainable and Recycled Elements
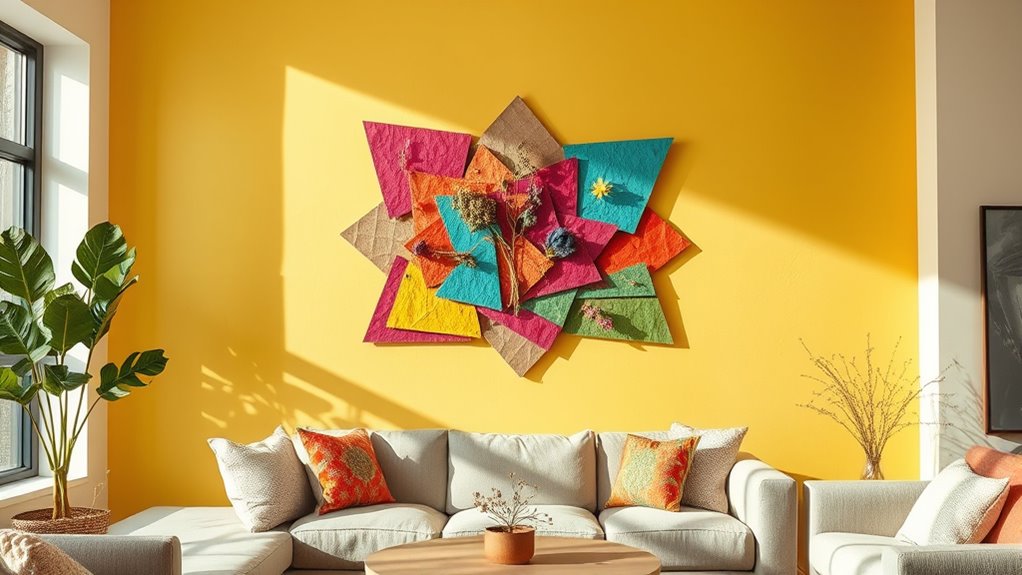
Incorporating sustainable and recycled elements into your wall art not only benefits the environment but also brings unique character to your space. You can make a powerful statement with eco-friendly choices that reflect your values. Consider these options:
- Use reclaimed wood or metal for framing or background elements, adding rustic charm and depth.
- Repurpose old magazines, maps, or fabric scraps into collage art that tells your story.
- Print digital designs on recycled paper or fabric, giving new life to discarded materials.
- Exploring eco-friendly art materials can further enhance your sustainable decor projects.
These ideas allow you to create meaningful, personalized decor while reducing waste. By blending eco-conscious materials with your creativity, you craft art that’s both beautiful and impactful. Your space becomes a reflection of your style and your commitment to sustainability.
Frequently Asked Questions
How Can I Ensure My DIY Art Matches My Home Decor Style?
To match your DIY art with your home decor style, start by choosing colors, patterns, and themes that complement your existing furniture and accessories. Keep in mind your overall aesthetic—whether minimalist, boho, or industrial—and select materials and designs that blend seamlessly. Use similar textures or tones, and consider framing or arranging your art thoughtfully to create a cohesive, stylish look that enhances your space effortlessly.
What Are the Best Tools for Framing Homemade Wall Art?
Did you know the global wall art market is projected to hit USD 130.2 billion by 2035? To frame your homemade wall art, you should use quality tools like a glass cutter for clean cuts, a level for perfect alignment, and acid-free matting for preservation. Invest in a good frame punch or stapler, and consider using adjustable brackets for easy hanging, ensuring your art looks professional and lasts.
How Long Does DIY Wall Art Typically Last?
Your DIY wall art can last anywhere from several years to a decade or more if you use quality materials and proper sealing. Keep in mind, factors like exposure to sunlight, humidity, and handling can affect its longevity. To extend its lifespan, choose archival-quality papers, sealants, and frames, and avoid placing art in direct sunlight or damp areas. Regularly clean and inspect your pieces to maintain their vibrant appearance over time.
Can I Create Waterproof or Weather-Resistant DIY Wall Decor?
Did you know the global wall art market could hit USD 130.2 billion by 2035? You can definitely create waterproof or weather-resistant DIY decor by choosing outdoor-friendly materials like acrylic paints, sealed wood, or vinyl stickers. Use waterproof sealants to protect your artwork from moisture and UV rays. Opt for weather-resistant substrates like treated wood or plastic. This way, your personalized decor stays vibrant and durable, even outdoors.
What Are Common Mistakes to Avoid When Making Wall Art at Home?
When making wall art at home, avoid rushing the project or skipping prep work like cleaning surfaces or choosing the right materials. Don’t overcomplicate your design—simplicity often works best. Be cautious with adhesives and paints, ensuring they’re suitable for your wall type to prevent damage. Also, measure carefully to avoid crooked or uneven art. Finally, don’t neglect sealing or finishing your piece for durability and a polished look.
Conclusion
Now that you’re armed with creative ideas and budget-friendly tips, your walls can tell a story as unique as you are. Imagine turning blank spaces into a vibrant canvas that reflects your personality—what’s stopping you? With a little effort and imagination, you’ll transform your home into an inspiring gallery. So, why wait? Your personalized masterpiece is just a DIY project away—dare to create, and let your walls speak your story.