Crafting your own wood wall decor allows you to express your creativity and unique style. Begin by choosing high-quality pine wood and using a flush cut saw for precise shapes. To achieve a beautiful sunset effect, combine vibrant colors such as crimson and sky blue. Pay attention to sanding for a smooth finish and use durable CA glue to secure your pieces together. Once you have assembled your masterpiece, apply a protective finish to ensure long-lasting beauty. This project not only enhances your decor but also reflects your personal style. Looking for more tips and techniques? There is plenty more to discover!
Key Takeaways
- Select high-quality wood, such as pine, for a clean aesthetic and smooth surface in your wall decor project.
- Experiment with color mixing to create a vibrant gradient that enhances the visual appeal of your artwork.
- Utilize precise cutting and shaping techniques, like a flush cut saw and spindle sander, for clean edges and curves.
- Assemble your pieces with strong adhesives and clamps to ensure durability and a polished finish.
- Apply protective finishes, like satin polyurethane, to highlight the wood's beauty and ensure longevity of your masterpiece.

UMIACOUSTICS 6 Packs Acoustic Panel,47.2 x 23.6 Inches Decorative Sound Proof Panel for Office,Home Theater,Studio,Grey
【Wood Looking Surface】 Please kindly note that this panel is wood looking veneer surface instead of wood slat...
As an affiliate, we earn on qualifying purchases.
Project Overview
In this project, you'll create a stunning multi-colored 3D wood art piece that enhances the area above your desk. This artwork will consist of 26 carefully cut pine wood pieces, each uniquely designed with curved lines to add visual interest. You'll focus on creating a mesmerizing sunset effect, shifting from vibrant crimson at the top to warm earth tones at the bottom.
To achieve a polished look, the base of your artwork will feature a dark wenge wood frame. This frame not only adds stability but also contrasts beautifully with the colorful wood blocks. You might choose to incorporate black paint into the design, perhaps to highlight certain curves or as an accent around the frame, which can help tie the piece together.
As you work, you'll have the freedom to experiment with color and placement, allowing your creativity to shine. The combination of colors and the 3D effect will draw the eye and elevate your workspace's aesthetic. With careful planning and attention to detail, you'll craft a piece that's not just art but a personal statement above your desk.

UMIACOUSTICS 4 PCS Acoustic Panels, 2“ Thick 23.6" x 11.8" Fiberglass Sound Proof Wall Panels, Sound Absorbing Panels for Studios, Office, Home Theater. Deep Black
【Sound Absorbing】- The professional acoustical panels are 2” Thick with Superior sound absorption which NRC 0.95 providing clearer,more...
As an affiliate, we earn on qualifying purchases.
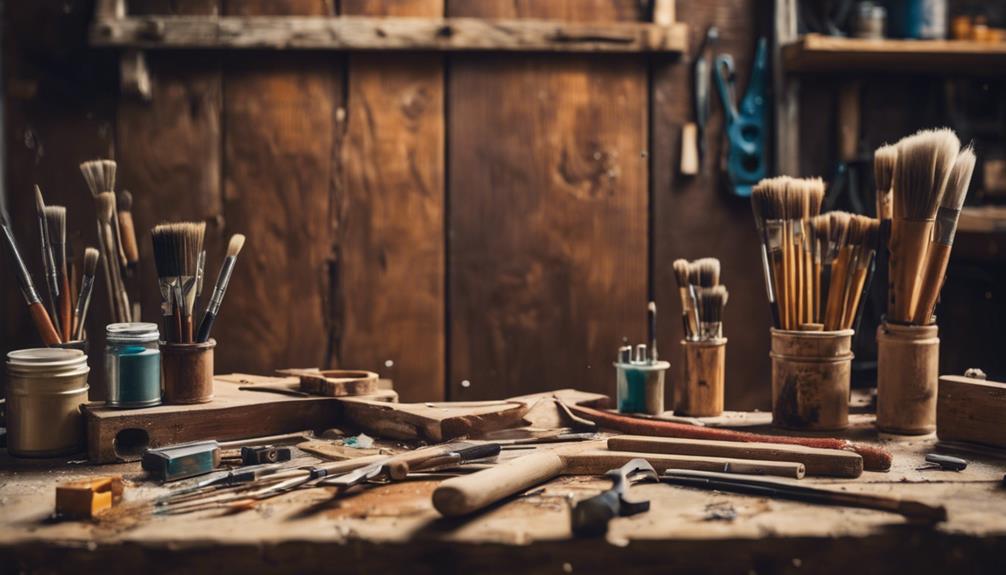
Essential Materials and Tools
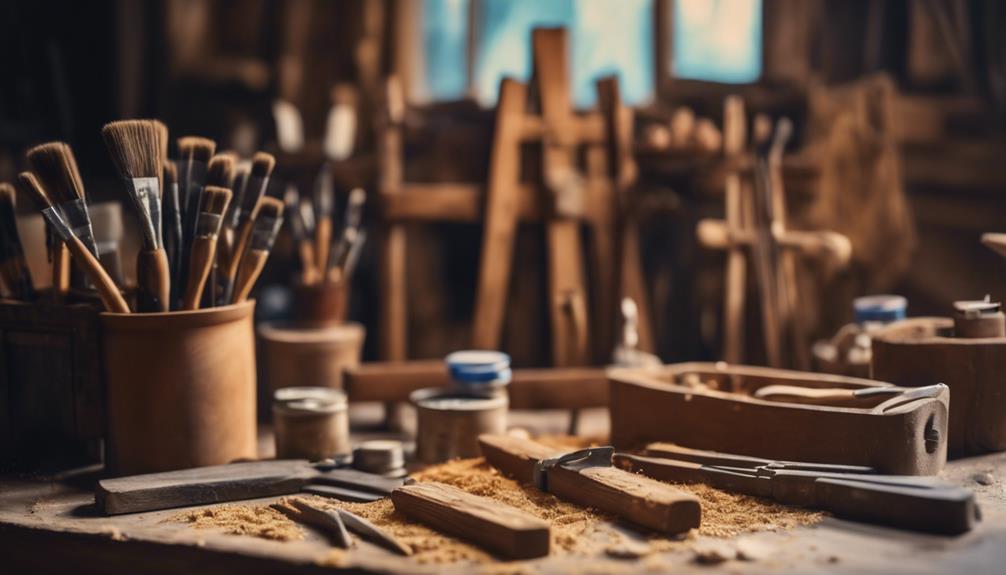
To create your stunning wood wall decor, gather essential materials and tools that guarantee precision and a polished finish. Start with high-quality pine without knots; it provides a clean aesthetic and a smooth surface for coloring and finishing.
For crafting, you'll need a flush cut saw for precise cuts and a spindle sander for shaping and smoothing your pieces. Stock up on sanding paper ranging from 80 to 240 grit to achieve the desired surface finish.
When assembling your decor, use CA glue for initial bonding, but don't forget to reinforce it with walnut dowels. This will enhance the structural integrity and durability of your masterpiece, ensuring it remains a focal point in your space.
For coloring, Minwax semi-transparent wood stains offer a variety of colors you can blend to create custom hues, resulting in vibrant effects on the wood surface.
Lastly, consider incorporating leather straps to secure artwork within a frame. This not only adds stability but also enhances the overall aesthetic appeal of your wood wall decor.
With these materials and tools, you're well on your way to crafting a stunning focal point for any room!

BUBOS 6 Pack Acoustic Wall Panels - High-Density Polyester Sound Absorbing Panels, Decorative Wood Print Treatment for Recording Studio & Home Office, Peel and Stick, 23.6" x 23.6"
Professional Grade Acoustic Clarity-Silence the distractions and elevate your audio. Engineered with 100% high-density polyester fiber, BUBOS panels...
As an affiliate, we earn on qualifying purchases.
Cutting and Shaping Techniques

Master cutting and shaping techniques by using a flush cut saw to ensure precise cuts and prevent splintering, especially when crafting unique curves in your wood pieces.
When cutting wood for your picture frame, make sure to maintain 3/8 inch tabs at the ends of boards. This will provide a proper fit within the frame and help during assembly.
Avoid making thin cuts at the bottom of your curves, as this can compromise glue adhesion, leading to weak joints.
For a smoother finish, sand your curves using a spindle sander or sanding paper, progressing through grits from 80 to 240. This process will prepare your wood for staining, enhancing the overall appearance.
If you're working with 1 by 3 pine boards, cutting them into 20.5 inch pieces and ripping them in half will yield 26 pieces, offering you a diverse range of shapes to incorporate into your design.
By mastering these cutting and shaping techniques, you'll elevate your wood wall decor project and create a stunning picture frame that showcases your craftsmanship.
Happy crafting!

2 Large Sheets (94.5"x11.8") Self-Adhesive Acoustic Panels for Home Theater, Bedroom & TV Background – Easy DIY Installation, Oak Finish
Transform Any Wall in Minutes – No Tools, No Damage These extra-large peel-and-stick panels (94.5" x 11.8") cover...
As an affiliate, we earn on qualifying purchases.
Color Blending and Application

Achieving a stunning color blend for your wood decor can transform your project into a vibrant masterpiece. To create a striking accent wall, start with three colors: Crimson, Sky Blue, and Wheatgrass. Blend these shades in graduated increments, shifting from red at the top to earthy tones at the bottom for a beautiful sunset effect.
You can create a total of 25 custom colors by carefully mixing your stains. This variety guarantees a visually appealing gradient that adds depth to your accent wall. When applying the stain, use a clean cloth or brush for a smooth, consistent finish across all pieces. Remember to wipe off any excess stain immediately to prevent pooling, which can disrupt your color blend.
Once you've applied the stains, allow the boards to dry overnight. This step is essential, as it guarantees that the colors set properly, enhancing the overall look of your wood decor. With patience and attention to detail, you'll achieve a stunning color blend that elevates your project, making your accent wall a true focal point in your space.
Assembly and Finishing Touches
After perfecting your color blend, assembling your wood decor with care will assure a polished final product.
Start by applying thin glue beads between the boards. This minimizes visible glue lines and guarantees a clean finish. Once you've positioned the boards, use clamps to hold them together for at least six hours. This step is essential for strong adhesion.
Next, add the finishing touches to enhance your art piece. Apply three coats of satin polyurethane to the frame. This not only highlights the wood's natural beauty but also provides a protective layer against wear and tear.
For securing your artwork, use hot glue along with repurposed leather straps. This adds both stability and a stylish flair.
Frequently Asked Questions
What Is the Best Wood for Wall Decor?
When choosing the best wood for wall decor, consider hardwoods like oak or maple for durability, or softwoods like pine for ease of use. Always pick sustainably sourced wood to support eco-friendly practices.
How to Make a Wood Art Wall?
To make a wood art wall, select quality wood, cut it into various shapes, sand the edges, experiment with stains, assemble pieces with glue, and finish with a protective coat for durability and aesthetics.
How Can I Decorate My Wall Diy?
To decorate your wall DIY, start with a focal point, mix materials for texture, add personal touches, and vary shapes and sizes. Experiment with lighting to create ambiance and enhance your overall design.
How to Paint Wall Art at Home?
"Don't put off till tomorrow what you can do today." To paint wall art at home, gather materials, choose colors, apply thin layers, and finish with a protective coat for durability and vibrancy. Enjoy your creation!
Can I Use the Same Techniques for DIY Barn Door Wall Decor to Craft Other Wood Wall Decor?
Yes, you can absolutely apply the same stepbystep barn door decor techniques to create other stunning wood wall decor pieces. With some creativity and imagination, you can modify the process to suit your desired aesthetic and achieve beautiful DIY wood wall decor for any space in your home.
Conclusion
Now that you've crafted your own wooden masterpiece, hang it on your wall like a vibrant story waiting to be told.
Each carefully chosen piece and color blend reflects your creativity and passion, transforming a simple space into an inviting gallery of your style.
Embrace the satisfaction of your handiwork, and let your wood wall decor be a reminder that, just like art, your home can be a canvas for your unique journey.