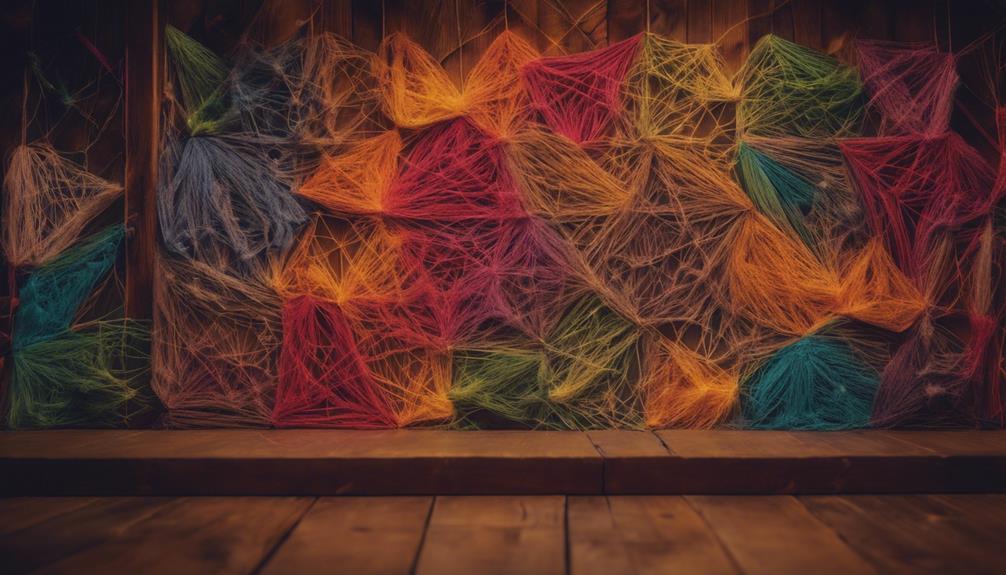

String art wall decor is an amazing DIY project that turns basic materials into stunning home decorations. To make your own, gather a wooden board, nails, and high-quality string in colors that suit your taste. First, lightly sketch your design, then hammer nails in place and wrap string around them in creative patterns. Play around with different knotting techniques and color combinations for unique effects. Once finished, find the perfect spot to display your artwork where it will capture attention. This versatile craft allows for personal expression, resulting in beautiful pieces that showcase your individuality. Check out more tips and ideas here!
Key Takeaways
- Select a base surface like a wooden board or canvas to support your string art design effectively.
- Choose a design that reflects your personal style, such as geometric shapes or cultural motifs, for a unique touch.
- Gather essential materials, including nails, string, and a hammer, to execute your string art project smoothly.
- Experiment with different color combinations and string types to enhance visual appeal and creativity in your artwork.
- Display your finished piece prominently, considering lighting and framing to highlight your DIY creation in your home decor.

Amorho LED Bathroom Mirror 24"x 36" with Front and Backlight, Stepless Dimmable Wall Mirrors with Anti-Fog, Shatter-Proof, Memory, 3 Colors, Double LED Vanity Mirror(Horizontal/Vertical)
[Double Lights & Super Bright]: With two built-in LED strip lights, Amorho LED bathroom mirror with front light...
As an affiliate, we earn on qualifying purchases.
Materials Needed for String Art
To create stunning string art, you'll need a few essential materials, including a wooden board or canvas as your base. This sturdy surface is vital for your design's structure.
Next, gather nails or pins that are evenly spaced and strong enough to hold the tension of the string or thread you'll be using. High-quality string or embroidery floss in various colors will enhance the visual appeal of your project, so don't be afraid to mix and match shades to create a vibrant masterpiece.
A hammer is also necessary for driving the nails into the board, ensuring they're securely placed for the string to wrap around. Make sure to tap gently but firmly to avoid splintering the wood.
Additionally, having a printed template or design to follow can greatly assist you in achieving the desired pattern and layout for your string art. If you're inspired by music or foreign cultures, consider incorporating elements from those themes into your design.
This personal touch not only makes your string art unique but also adds a layer of meaning that reflects your tastes. With these materials in hand, you're ready to plunge into your creative project!

Vanity Mirror with Lights,13.1"×16.7"LED Makeup Mirror,Lighted Makeup Mirror with Lights, Smart Touch Control Dimmable 3 Modes Light, Lighted Up Mirror for Makeup Desk, Bedroom, Dressing Room
【Perfect Size for Dormitory】 This tabletop vanity mirror with lights is designed to be suitable size than others,...
As an affiliate, we earn on qualifying purchases.
Choosing the Right Design
When it comes to choosing the right design for your string art, think about what inspires you.
Consider your personal style and look for design ideas online that resonate with you, whether it's geometric shapes or nature themes.
This way, you'll create a piece that not only stands out but also reflects who you are.
Design Inspiration Sources
Finding the right design for your DIY string art can transform a simple project into a stunning centerpiece that reflects your personal style.
Start by exploring nature-inspired designs like trees, mountains, or animals. These motifs often resonate well with personal aesthetics and can evoke a sense of tranquility in your space.
Geometric patterns also make a great choice, especially if you want a modern decor vibe. They create a striking visual impact and can enhance the contemporary feel of any room.
Additionally, consider incorporating cultural motifs or symbols that represent your heritage or interests. These elements not only add a meaningful touch but can also serve as conversation starters.
Don't forget to utilize online platforms like Pinterest or Instagram for endless design ideas. You can see how others have interpreted similar concepts in their string art creations, providing you with fresh inspiration.
Finally, feel free to blend different styles or designs. Creating a unique piece that showcases your taste can make your string art a true focal point in your home decor.
Let your creativity flow, and enjoy the process of bringing your vision to life!
Personal Style Considerations
Choosing the right string art design hinges on your unique personal aesthetic and the overall decor theme of your space. Start by exploring different styles like geometric patterns, nature-inspired motifs, or abstract shapes to find what resonates with you. Think about the color scheme in your room; contrasting string colors can create visual interest, while matching them with existing elements can enhance cohesion.
Next, consider the size of your wall and where you plan to hang the piece. Larger designs can act as striking statement pieces in open areas, while smaller designs work beautifully in clusters or on compact walls. Also, the materials you choose matter—selecting high-quality wood for the base and durable string guarantees your creation lasts and reflects your personal touch.
Lastly, don't hesitate to incorporate personal elements. Adding initials or meaningful quotes within your string art can make it uniquely yours, showcasing your individual style. By considering these factors, you'll end up with a string art piece that not only beautifies your space but also speaks to who you are.

Hansong Vanity Mirror with Lights Lighted Makeup Mirror with 9 LED Bulbs Plug in Light Up Makeup Mirror with Lights 360 Rotation with 10x Magnifying Mirror Tabletop
Perfect Size - (12"x10" ) The suitable size of makeup mirror with lights allows you to get your...
As an affiliate, we earn on qualifying purchases.
Step-by-Step String Art Process

To start your string art project, you'll need some basic materials like wood, nails, and string.
Once you've gathered everything, you can create your design by sketching it lightly on your chosen surface.
This will set the stage for a fun and creative crafting experience!
Materials Needed Overview
Gather the essential materials, including a wooden board or canvas, nails or pins, and sturdy string or yarn, to kick off your string art project.
Start by selecting a base that suits your style; both wood and canvas work well. You'll need nails or pins to anchor your design securely, so choose these based on your board's thickness.
Next, pick a robust string or yarn. It should be strong enough to withstand tension while you create your design. A hammer is crucial for driving the nails into your base material—make sure they're secure to hold the string in place.
If you want to enhance your project, consider optional materials like a printed template for your design. This can guide your nail placement.
You'll also need scissors for trimming the string and a ruler or measuring tape for precise layout.
Finally, think about finishing touches; using paint or stain on your wooden board can elevate the overall aesthetic of your string art piece.
With these materials gathered, you're ready to plunge into the fun and creative process of string art!
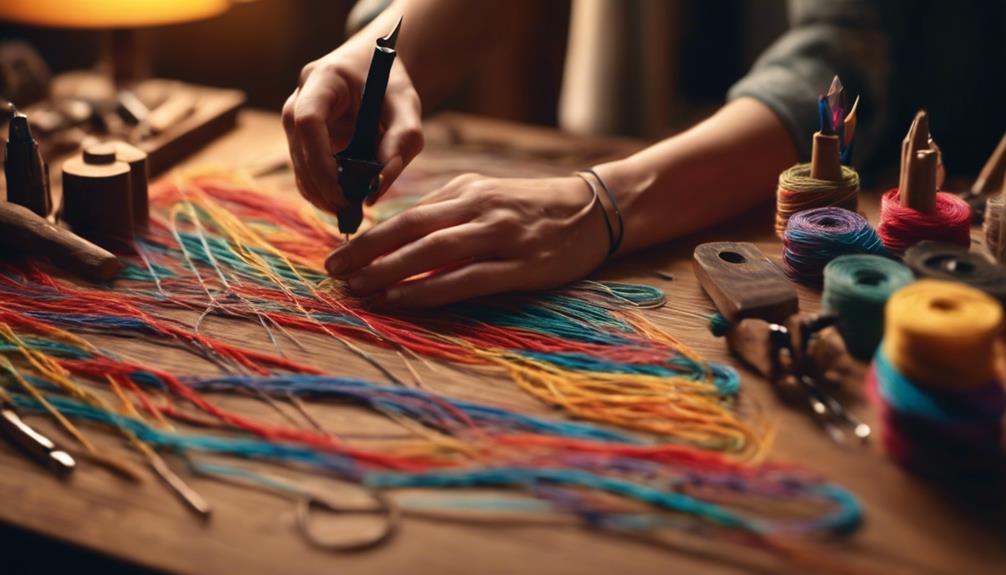
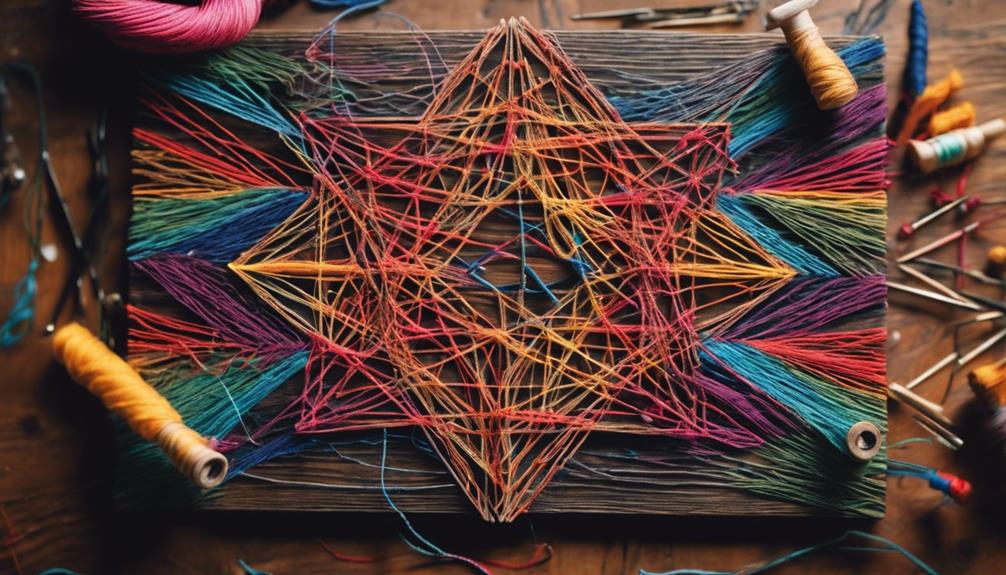
Creating Your Design
Now that you have your materials ready, it's time to create your design for the string art project. Start by selecting a wooden board in your desired size and shape; this will be the base for your art. Once you have your board, sketch your design lightly with a pencil. Make certain it's clear and easy to follow, as this will guide your string placement.
Next, use nails or pins to outline your design. Space them evenly and hammer them into the board to create a sturdy framework for the string. This step is essential, as it guarantees your design maintains its shape as you work.
After that, choose a colorful string or thread that contrasts well with your board. This will enhance the visibility of your design. Begin wrapping the string around the nails, following your design pattern. Be creative and experiment with different wrap techniques to add depth and texture.

Hansong Vanity Mirror with Lights: Hollywood Lighted Makeup Mirror with 15 LED Bulbs, 22.8''x18'' Light Up Mirror with 3 Colors Modes for Desk, Large Mirrors with USB Charging Port for Bedroom, White
Perfect Size: There are 15 LED bulbs around the vanity mirror with lights, high lumen and life of...
As an affiliate, we earn on qualifying purchases.
Tips for Perfecting Your Technique
Perfecting your string art technique starts with choosing the right materials, as the type of string and base you use greatly impacts the final outcome.
Consider using a variety of string types, like cotton for a softer look or nylon for added durability. Your base is equally important; opt for sturdy materials like plywood or canvas to support the tension of the string without warping.
Next, focus on the placement of your nails or pins. Verify they're evenly spaced and securely placed according to your design layout. This will help maintain uniformity and prevent string slippage as you work.
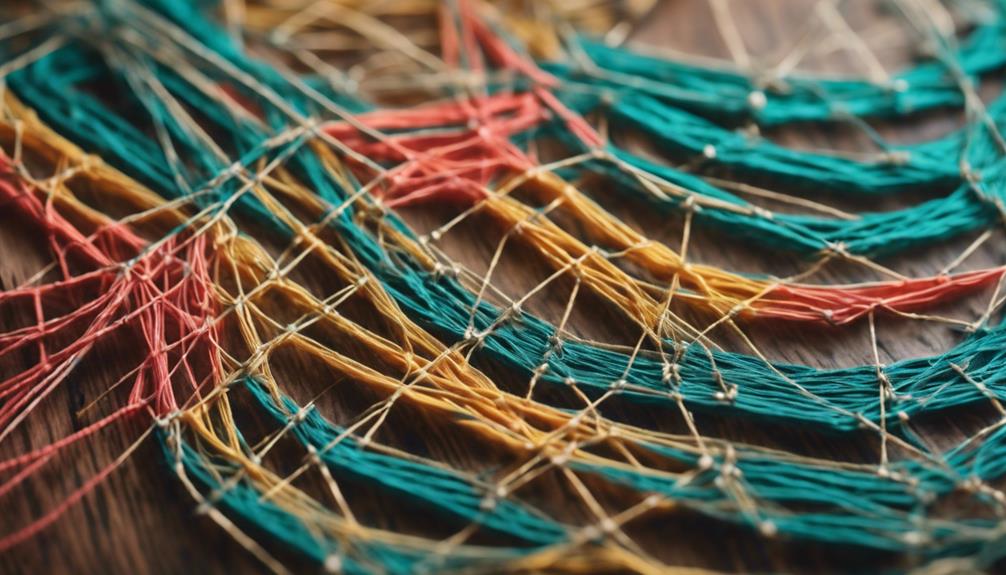
Experiment with different knotting techniques and tension levels while wrapping the string, as this allows for unique patterns and visual effects, showcasing your personal creativity.
Creative Color Combinations
Choosing the right color combinations can elevate your string art from simple to stunning, allowing your creativity to shine through. You've got various options to explore that can transform your piece into a visual masterpiece.
| Color Scheme | Effect |
|---|---|
| Complementary Colors | Vibrant and eye-catching |
| Monochromatic | Sophisticated and cohesive |
| Analogous Colors | Calming and harmonious |
Consider using complementary colors for a vibrant look that grabs attention. Alternatively, a monochromatic scheme with different shades of a single color can offer a refined appearance, keeping the focus on your string pattern. If you want to modernize your art, incorporate metallic threads or neon colors for that trendy flair.
For a more soothing aesthetic, stick with analogous colors, creating a serene vibe. Finally, don't forget about the charm of gradient effects! Shifting colors can add depth and dimension, making your string art visually engaging. With these creative color combinations, you're well on your way to creating stunning wall decor that reflects your unique style.
Displaying Your Finished Art
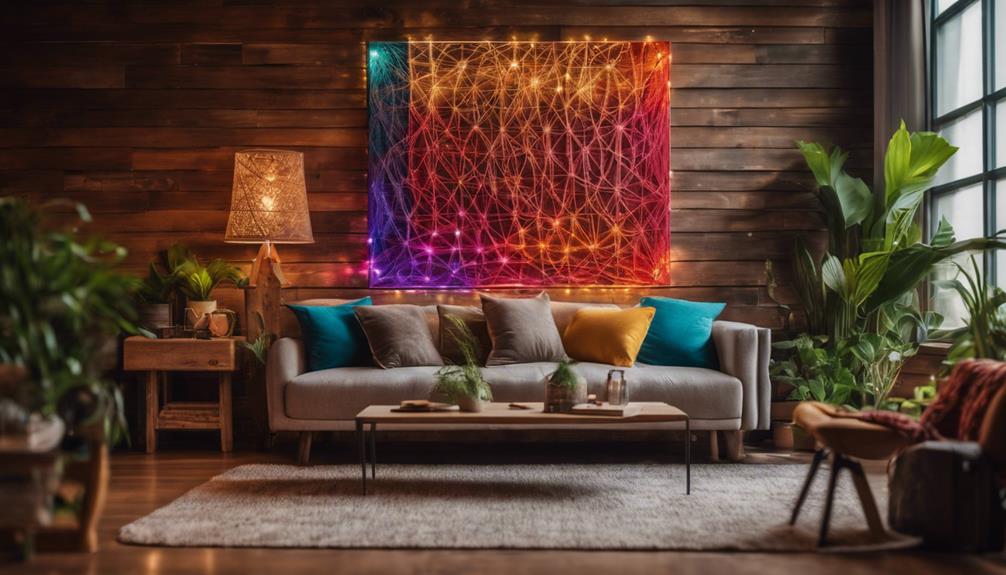
Finding the right spot to display your finished string art can transform it into a fascinating focal point in your home. Here are some tips to guarantee your artwork shines:
Choose a Prominent Location: Select a wall in your living room or entryway where your string art can serve as a conversation starter. A visible area draws attention and appreciation.
Use Complementary Frames: Opt for frames or mounting techniques that enhance your piece without overshadowing it. Make sure the colors and styles either match or contrast well with your art.
Create a Gallery Wall: If you have multiple pieces, group them together to form an eye-catching gallery wall. Mixing various sizes and designs can create a cohesive theme or color palette.
Utilize Proper Lighting: Install wall sconces or directional spotlights to highlight your string art. Good lighting enhances visual impact and creates interesting shadows, bringing your artwork to life.
Gift Ideas With String Art

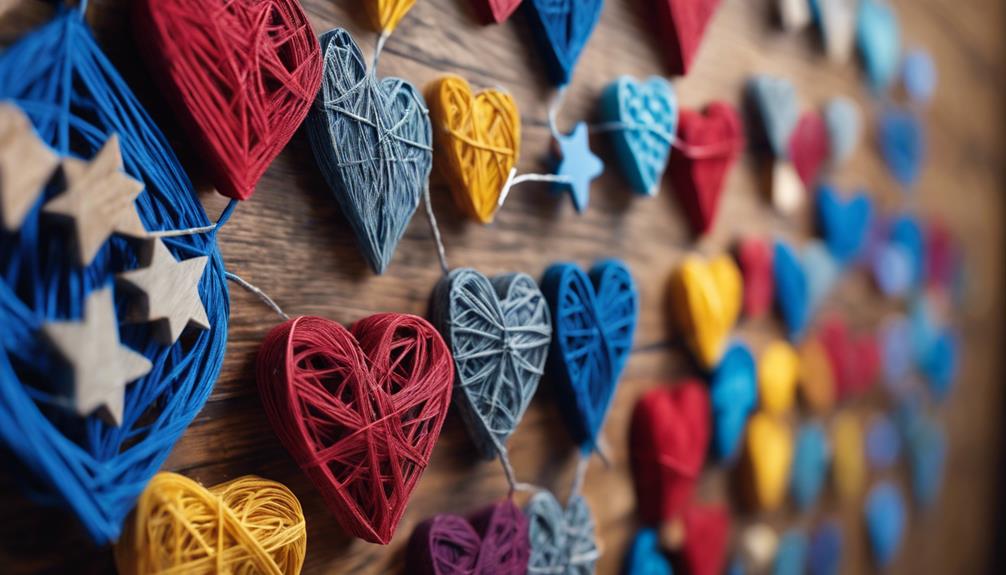
Creating personalized string art gifts can add a meaningful touch to any celebration, making your handmade creation truly special for the recipient. Whether it's a birthday, wedding, or housewarming, string art can be customized with designs or messages that reflect the recipient's personality and interests.
Consider popular themes like initials, hearts, animals, or landscapes. These choices resonate deeply and show that you've put thought into the gift. Plus, the materials for DIY string art projects typically range from $10 to $30, making it an affordable option that still allows for creativity and personalization.
As you craft your piece, you'll experience a sense of accomplishment and emotional connection. The effort you invest adds sentimental value, transforming your art into a cherished keepsake.
If you're new to crafting, don't worry! String art kits are widely available, often including pre-cut wood, nails, and string, simplifying the process for anyone, regardless of experience.
Exploring Advanced Techniques
Exploring advanced techniques in string art can elevate your creations, adding depth and intrigue to your wall decor. By pushing the boundaries of traditional string art, you can create stunning pieces that draw the eye and spark conversation.
Here are four techniques to contemplate:
- Experiment with different types of string: Use embroidery floss, twine, or even metallic threads to create varied textures and visual effects. Each type of string offers a unique look that can transform your design.
- Layer your strings: Incorporating multiple layers can enhance the depth and complexity of your artwork. This technique allows for intricate patterns and a richer visual experience.
- Add LED lights: Integrating LED lights into your designs can make your piece dynamic. It'll stand out both during the day and at night, creating an inviting ambiance.
- Utilize templates or stencils: For more complex patterns, using a template can improve precision and save time. You'll find it easier to achieve intricate designs that look polished and professional.
Frequently Asked Questions
How to Make Wall Art With String?
To make wall art with string, sketch your design on a board, outline it with nails, and wrap colorful string around the nails. Finish by adding embellishments or a clear coat for a polished look.
What Kind of String Is Used for String Art?
For string art, you'll typically use cotton, embroidery floss, or nylon. Cotton's popular for its vibrant colors. Medium-weight threads work best, but don't shy away from specialty threads for unique visual effects!
How to Make Custom String Art?
To make custom string art, choose a design, sketch it on wood, secure nails along the outline, and wrap string around them. Finish by tying off the string and adding a frame for display.
How Do You Make Yarn Wall Decor?
To make yarn wall decor, get your creative juices flowing! Start with a clean board, outline your design using nails, wrap yarn tightly, and finish with a knot. Add embellishments for that extra flair!
What Are the Differences Between String Art and Macrame Wall Decor?
String art involves creating designs by wrapping colored string around nails or pins to form geometric patterns or pictures, while macrame wall decor is made by tying knots in different patterns to create beautiful macrame wall decor. Both art forms are unique in their technique and style, offering a variety of options for decorating spaces.
Can Macrame Wall Decor be used as a substitute for String Art Wall Decor in DIY creations?
Absolutely! Macrame wall decor can definitely be used as a substitute for string art wall decor in DIY creations. You can create beautiful macrame designs that bring a unique and elegant touch to any space. Its intricate patterns and textures make it a versatile and stylish option for decorating your walls.
Conclusion
String art isn't just a fun DIY project; it's also a fantastic way to express your creativity.
Did you know that over 70% of people who create string art report feeling a boost in their mood?
So, grab your materials, try out different designs, and let your imagination run wild!
Whether you're decorating your space or making gifts, your unique creations will surely bring joy to both you and those who receive them.
Happy crafting!