
Creating butterfly wall decor is a delightful and enjoyable DIY project that enhances the beauty of any room. To begin, gather colorful cardstock, scissors, and glue to craft stunning butterfly shapes. Feel free to use printable templates for inspiration or unleash your creativity with unique designs. For a touch of nostalgia, consider using old road maps as backgrounds or experiment with distressing techniques. Showcase your butterflies in a shadow box or decorative frame for a captivating display. These lovely creations also make perfect gifts for friends or can be paired with candles to create a warm and inviting atmosphere. Dive deeper into this delightful craft and uncover endless possibilities!
Key Takeaways
- Create a Vintage Butterfly Shadow Box using colorful cardstock and printable templates for a unique home decor piece.
- Experiment with distressing techniques for a vintage look, using Walnut Stain ink on edges.
- Use old road maps or French ephemera as creative backdrops to enhance the butterfly display.
- Incorporate 3D effects by gluing only the bodies of butterflies, allowing wings to remain free.
- Style your decor with seasonal themes and pair with candles and vintage books for added charm.

BAGAIL 8 Set Packing Cubes Luggage Packing Organizers for Travel Accessories-Cream
- Premium Durable Fabric: Resists wrinkles, stains, and wear
- Water-Repellent Material: Protects clothes from spills and leaks
- Lightweight Design: Easy to pack without adding weight
As an affiliate, we earn on qualifying purchases.
Project Overview
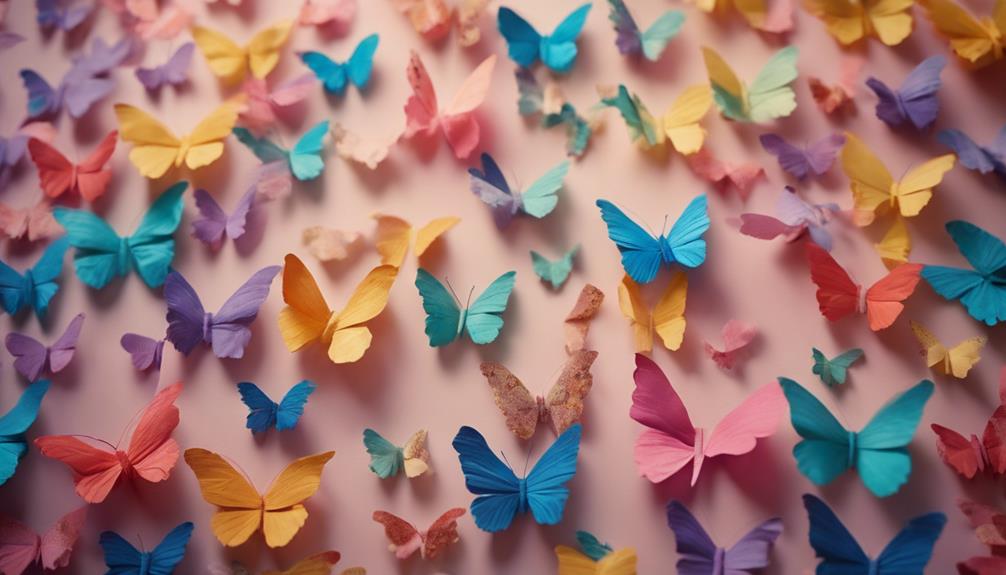
In this DIY Butterfly Wall Decor project, you'll create a stunning Vintage Butterfly Shadow Box that adds a personal touch to your home with vibrant colors and unique designs. This Wall Art project invites you to explore your creative side while crafting beautiful paper butterflies that will truly enhance your home decor.
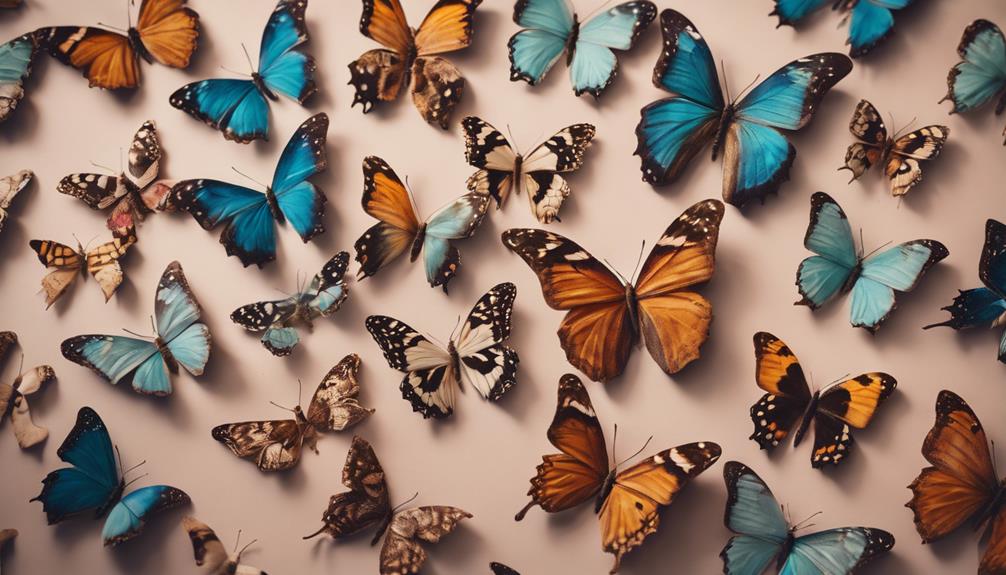
You'll have the freedom to choose from various shades like blue, pink, purple, yellow, and turquoise, allowing your butterfly designs to reflect your personal style. This DIY Butterfly Wall project is perfect for both beginners and advanced crafters, making it accessible for anyone keen to express their creativity.
As you work on this Wall Decor project, you'll learn techniques such as distressing edges with ink and adding metallic finishes, creating depth and visual interest in your butterfly centerpiece. The supportive community surrounding this project fuels excitement and encourages you to experiment, resulting in unique pieces that stand out in your home.
Materials and Tools
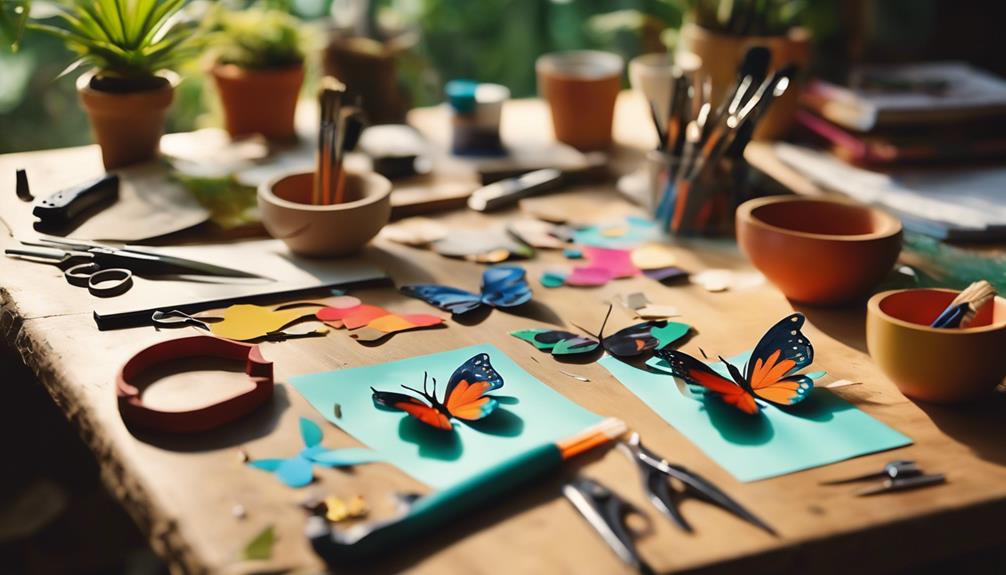
Gathering the right materials and tools is essential for creating your stunning Butterfly Wall Decor. Start with the basics: you'll need colorful paper or cardstock to bring your butterflies to life. Scissors are a must for cutting out your designs, and a good adhesive, like glue or double-sided tape, will help secure everything in place. Consider using a picture frame to give your artwork a polished look.
Here's a quick list of essential items:
- Printable PDF templates for butterflies
- Colorful cardstock or paper
- Scissors
- Glue or double-sided tape
If you're aiming for a vintage butterfly theme, old road maps can serve as a unique backdrop. You might also want to explore shrink plastic sheets, as they allow you to create butterflies that shrink to one-third their original size while retaining vibrant colors.
For added flair, think about embellishments like a brush pen for coloring edges or metallic thread for butterfly antennae. Finally, choose an appropriate mounting method—whether it's wall adhesive or pins—to display your creations.
With these materials and tools at hand, you're ready to begin your butterfly decor journey!
Assembly Process
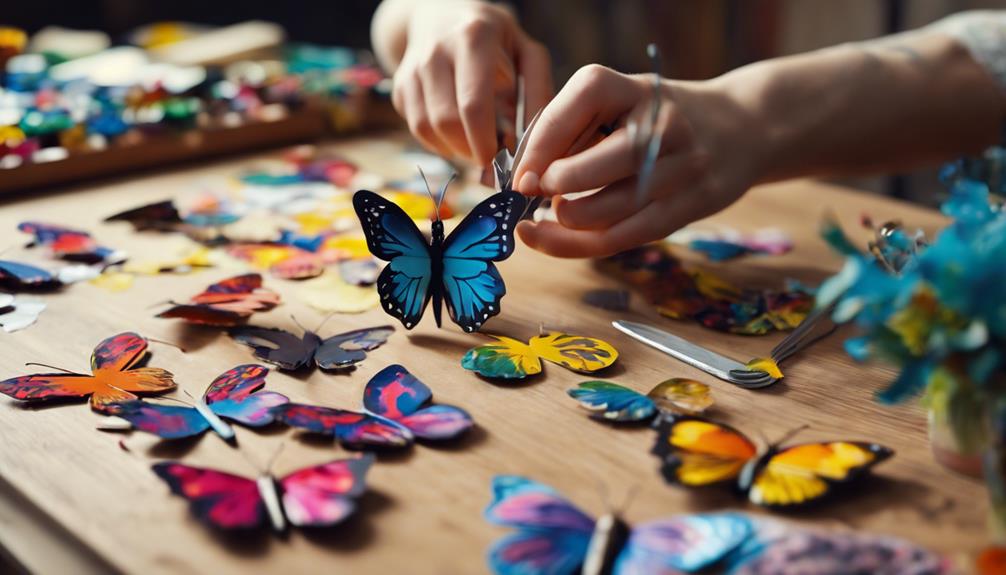
Start by selecting and cutting out your desired butterfly shapes from colorful cardstock, making sure to add wavy black borders for a more defined look. Once you've got your butterflies ready, apply glue to the body and veins to achieve a dimensional effect. If you want a more pronounced 3D appearance, consider adding a second layer of glue.
Next, shape the antennae using sewing thread and craft glue. Allow them to dry completely before you move on to assembly. When it's time to position your butterflies, attach them to your chosen background by gluing only the body. This will let the wings remain free, adding movement and depth to your decor.
If you're using a Shadow Box for your project, you can choose to leave out the glass for a more dynamic 3D effect or keep it in for a flat presentation. Here's a quick overview of steps to follow:
| Step | Action | Notes |
|---|---|---|
| 1 | Cut butterfly shapes | Use colored paper |
| 2 | Apply glue | For dimensional effect |
| 3 | Shape antennae | Use sewing thread |
| 4 | Attach to background | Glue only the body |
Framing and Background
After assembling your butterflies, focus on framing and creating the perfect background to showcase your artwork. Start by selecting a box frame or a 3D photo frame, depending on the visual effect you want. If you prefer a dimensional display, consider leaving out the front glass.
To enhance the overall look, wrap the back of the frame with French ephemera. Make sure it fits snugly, ensuring a polished finish. For a vintage effect, carefully cut the edges and distress them with Walnut Stain ink. This will beautifully complement your Paper Butterfly decor.
When it comes to gluing your butterflies, apply adhesive only to the body, leaving the wings free. This technique promotes a stunning 3D presentation that brings your artwork to life. If you're using a regular frame, you might also want to use foam board as backing for added stability and support.
Here's a quick checklist to help you through the process:
- Choose a box frame or 3D photo frame
- Wrap the background with French ephemera
- Distress edges using Walnut Stain ink
- Glue butterflies, leaving wings free
Styling and Gifting Ideas
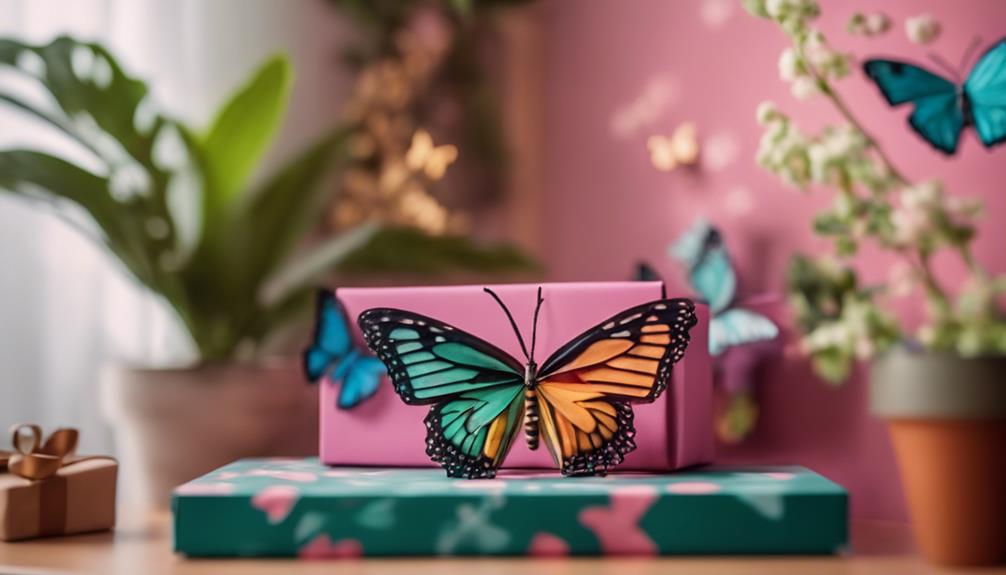
Transform your space with DIY Butterfly Wall Decor by pairing it with candles and vintage books for a cozy, inviting atmosphere. This handmade art piece not only brightens your walls but also adds a personal touch to your home. You can have fun making it by incorporating different butterflies, allowing you to switch them out based on your mood or the season.
For a thoughtful gift, consider creating a butterfly box frame. It's perfect for birthdays, housewarmings, or anniversaries, showcasing your creativity and care. Recipients will appreciate the uniqueness of a handmade gift that reflects your effort and thoughtfulness.
To enhance its appeal, style your butterfly decor with seasonal decorations. For instance, use it in spring themes to evoke feelings of renewal and transformation. Combining it with decorative items like candles can create a warm ambiance that draws people in.
Community feedback often highlights how gifting handmade projects fosters connections, so don't hesitate to share your butterfly wall decor with friends or family. It's a beautiful way to inspire creativity and bring people together through the art of crafting.
Frequently Asked Questions
How to Make Butterfly for Room Decoration?
To make butterflies for your room, trace templates on colorful cardstock, cut them out, layer 2-3 shapes with glue, add embellishments like glitter, and arrange them on your wall for a beautiful display.
How Do You Arrange Butterflies on the Wall?
To arrange butterflies on the wall, create a flying pattern for movement, maintain uniform spacing, and mix sizes for depth. Test layouts on a flat surface first, then secure them with double-sided foam pads.
How Can I Decorate My Wall Diy?
If you're feeling crafty, grab some supplies and get started! You can paint, add removable wallpaper, or create a gallery of your favorite photos. Mix textures and colors to truly make your wall pop!
How to Decorate Walls on a Budget?
To decorate your walls on a budget, get creative with printable templates, repurpose old materials, and use inexpensive DIY projects. Incorporate natural elements for a unique touch while keeping costs low and your space vibrant.
Can I Use the Same DIY Techniques for Genshin Impact Wall Decor?
Yes, you can use the same DIY techniques for Genshin Impact wall decor. However, it’s important to consider the specific style and theme of the game when creating your own decor. Check out online tutorials to learn how to acquire wall decor items and customize them to fit the game’s aesthetic.
Can I Create Butterfly Wall Decor Using Genshin Impact Wall Decor as Inspiration?
Butterfly wall decor can be created using Genshin Impact wall decor as inspiration. By exploring in-game and learning how to acquire wall decor, you can gather ideas for designing a butterfly-themed wall decor piece that reflects the beauty and whimsy of the game’s art style. Explore and create!
Conclusion
You've transformed simple materials into a stunning butterfly wall decor that brightens your space and stirs joy in your heart.
Each fluttering creation tells a story, celebrating the beauty of nature and your creativity.
As you hang your masterpiece, remember that this DIY project isn't just about decor—it's a vibrant reminder of the delicate wonders around us.
So go ahead, spread your wings, and let your imagination soar with every colorful butterfly you craft!