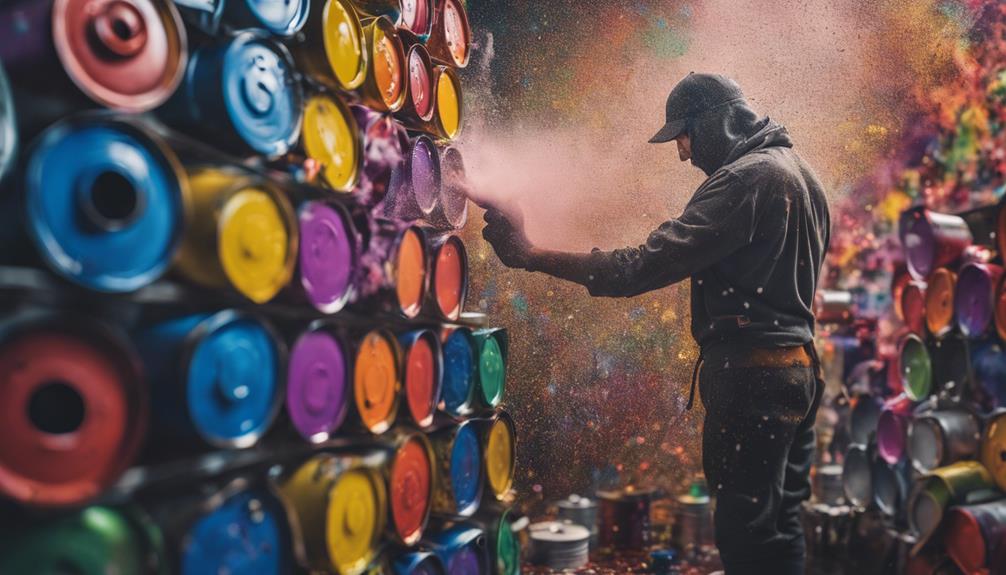

Spray painting metal wall decor is an enjoyable and cost-effective method to refresh your space. To start, gather necessary supplies such as spray paint, sandpaper, and a dust cloth. Prior to starting, prepare your outdoor workspace for proper ventilation and thoroughly clean your decor pieces. Apply your selected spray paint in light, even coats, making sure to allow sufficient drying time between layers. For added texture, lightly sand the edges once the paint is dry. Finally, securely hang each piece on your wall. You will find helpful tips for color selection and additional creative ideas as you continue this DIY journey.
Key Takeaways
- Clean metal surfaces thoroughly before painting to ensure proper adhesion and a smooth finish.
- Use light, even coats of spray paint from a distance of 6-12 inches for best results.
- Allow each coat to dry for 15-30 minutes before applying the next for optimal coverage.
- Lightly sand edges after the paint dries to create a distressed look and enhance texture.
- Securely mount the finished decor using appropriate hardware to ensure stability and safety.

BAGAIL 8 Set Packing Cubes Luggage Packing Organizers for Travel Accessories-Cream
- Premium Durable Fabric: Resists wrinkles, stains, and wear
- Water-Repellent Material: Protects clothes from spills and leaks
- Lightweight Design: Easy to pack without adding weight
As an affiliate, we earn on qualifying purchases.
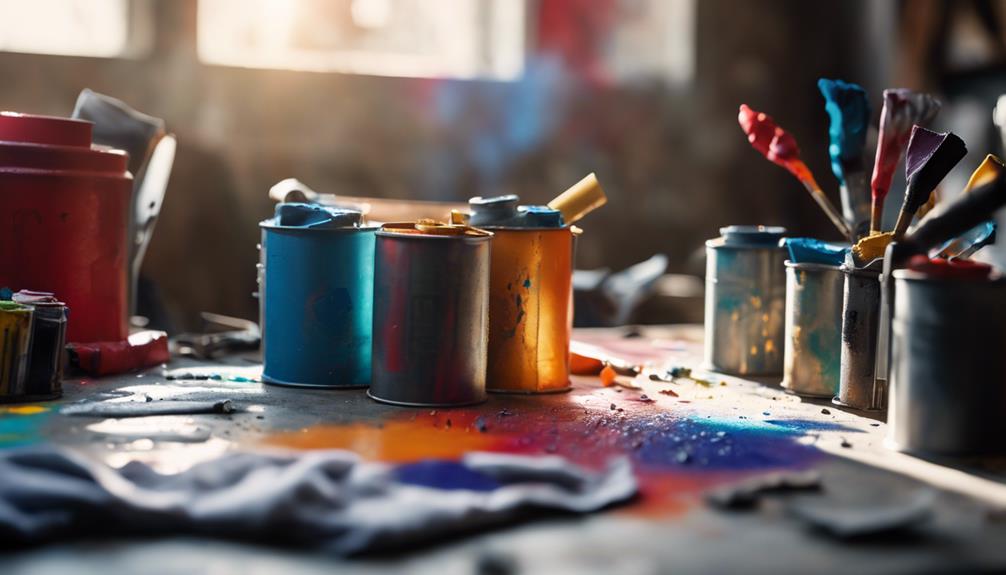
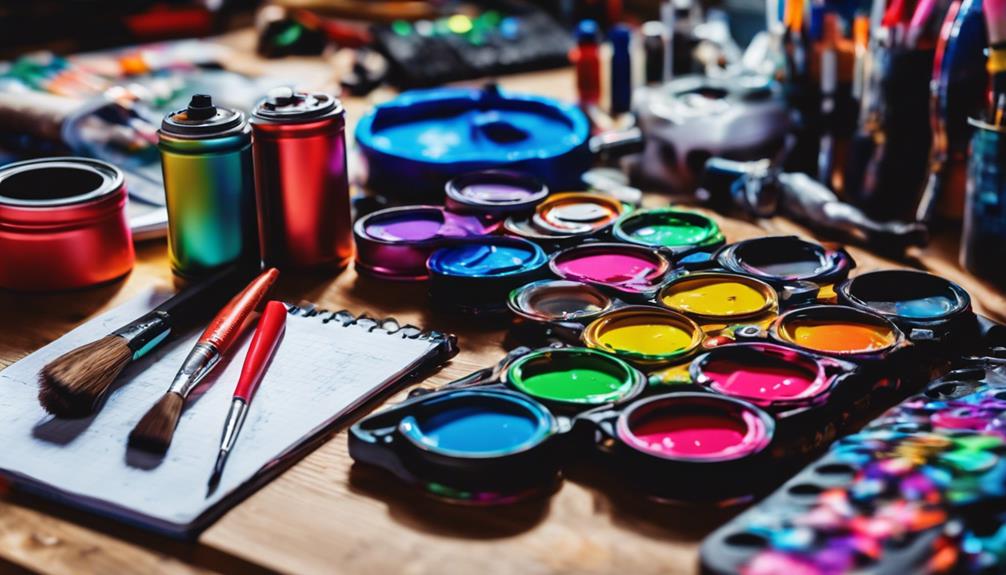
Materials Needed for Painting
To kick off your painting project, you'll need a couple of essential materials, including spray paint, sandpaper, and a dust cloth.
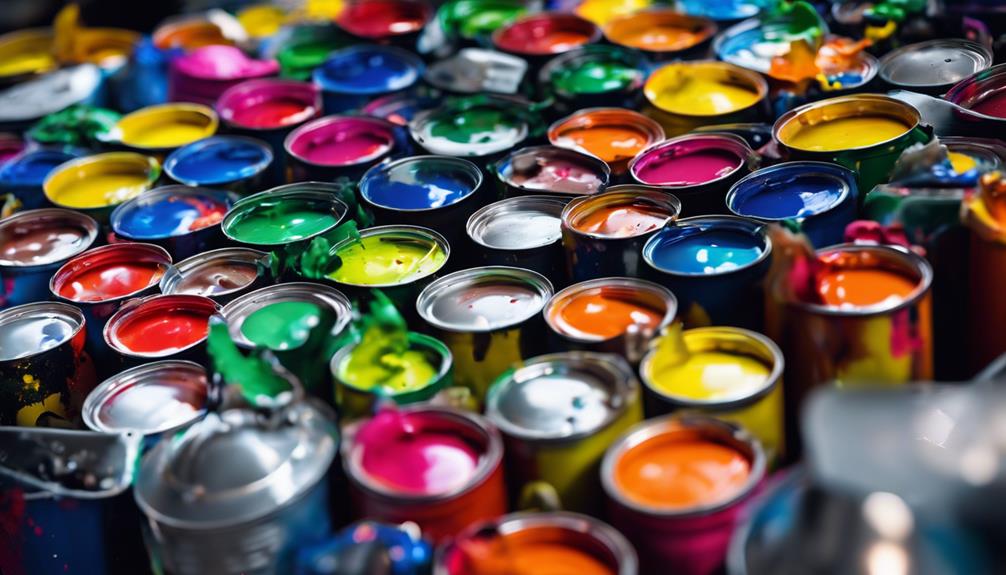
Start by selecting 1-2 cans of spray paint, like Devine Color Spray Paint by Valspar, in a shade that complements your decor style. You'll want to gather spray primer as well; applying it before your main coat enhances paint adhesion and durability.
Next, grab some rough grit sandpaper—120 grit works best—to scuff up the surface of your metal decor. This step is significant as it creates a better surface for the spray primer and paint to cling to.
Don't forget to have a dust cloth handy; wiping down the metal surfaces before you begin helps eliminate any dust or debris, ensuring a smooth, clean finish.
Prepare your workspace by laying down cardboard or a similar surface to catch any overspray from the spray paint.
Preparation Steps for Success

To kick off your metal wall decor project, you'll want to clean and dust your surfaces thoroughly.
Setting up your workspace outdoors not only gives you better ventilation but also helps manage any mess from spray painting.
Clean and Dust Surfaces
Start by removing all decor items from the walls to clear the space for effective cleaning and painting. This step's essential; it prevents any items from getting in your way.
Next, use a dust cloth to thoroughly clean the surfaces of your metal decor pieces. Make certain to remove any dust or debris, as this will guarantee ideal paint adhesion when you start spraying. If you find it easier, consider moving the metal items outside to a well-ventilated area. This helps facilitate easier dust removal and manages any mess from the painting process.
Once you've cleaned the surfaces, lay the items on a cardboard or similar surface. This will catch any overspray from the spray paint, keeping your area tidy.
Before applying the first coat of spray paint, double-check that all surfaces are completely dry and free from dust. This guarantees a smooth finish and helps the paint stick better.
Outdoor Workspace Setup
Choosing an outdoor workspace with good ventilation not only keeps you safe from inhaling fumes but also helps manage overspray effectively. Before you plunge into your spray painting project, take some time to prepare your outdoor space for success. Start by removing any decor items from walls and cleaning the surfaces thoroughly. This guarantees peak paint adhesion and a flawless finish.
Next, lay down cardboard or a similar protective surface in your workspace. This will catch any overspray and keep your outdoor area tidy. It's crucial to create a clean environment, as this minimizes mess and potential paint drips.
Always check the weather conditions before you start. High humidity and low temperatures can greatly affect drying times and the overall finish of your paint. If conditions aren't ideal, consider postponing your project for a day with better weather.
Test Spray Distance
Once your outdoor workspace is set up, it's important to determine the right spray distance for your metal wall decor project. Start by maintaining a distance of 8-12 inches between the spray can and the metal surface. This will help achieve even coverage and avoid unsightly drips.
Before you engage in painting the main piece, take a moment to test spray distance on a scrap piece of metal or an inconspicuous area of your decor. This guarantees the paint application is smooth and consistent.
Depending on the type of spray paint you're using, you might need to adjust the distance for ideal adhesion. Practice using short, controlled bursts while spraying to prevent oversaturating any one section.
Keeping the can moving in a steady motion is essential for avoiding pooling and guaranteeing a uniform coat across the entire surface. By testing your spray distance and adjusting as needed, you'll set yourself up for success and achieve that professional-looking finish you desire.
Don't rush this step; it's vital for a stunning result!
Step-by-Step Painting Process
Preparing your metal surface by cleaning it thoroughly guarantees that the paint adheres properly and prevents any imperfections. Start by using a dust cloth to wipe down the entire area, removing any dirt or grease.
Then, set up your workspace outdoors, placing cardboard underneath to catch any overspray. This will help you manage any mess while you work.
When you're ready to spray paint, remember that spray paint will work best when applied in light, even coats. Hold the can about 6-12 inches away from the surface and spray slowly, moving in a consistent motion.
Allow each coat to dry for 15-30 minutes before applying the next one. Check for full coverage after each coat and adjust as needed.
If you want a distressed look, once the paint is dry, lightly sand the edges with rough grit sandpaper to bring out texture and detail.
Make sure everything is completely dry before handling or hanging your pieces back on the wall. This will help you avoid smudging or damaging the beautiful finish you've created.
Enjoy your new metal wall decor!
Finishing Touches for Decor
Now that you've painted your metal decor, it's time to add those finishing touches.
You'll want to sand the edges for a textured look, remove any dust, and make certain it's securely installed on your wall.
These steps will help your piece shine and stay safe for years to come.
Sanding for Texture
Lightly sanding the edges and textured areas of your painted metal decor can enhance depth and contrast, making it visually striking. To achieve the best results, grab some fine grit sandpaper—around 220 grit works wonders for delicate sanding. This grit is gentle enough to avoid damaging your paint layer while still providing the desired texture.
Before you start sanding, verify the paint is completely dry. This step's essential to prevent any smudging or peeling while you work. If you're unsure about how much sanding to apply, test your technique on a small, inconspicuous area first. This will help you gauge the effect and verify you're happy with the final look before committing to the entire piece.
Once you're done sanding, don't forget to remove any dust particles that may have accumulated. Simply use a cloth to wipe down the surface, verifying it's clean and ready for display.
With these sanding techniques, your metal wall decor won't just look good; it'll stand out as a unique piece that showcases your creativity and effort.
Dust Removal Techniques
After sanding your metal decor, it's important to confirm that all dust is removed from the surface before applying paint. This guarantees proper paint adhesion and a smooth finish. Here are some effective dust removal techniques you can use:
| Technique | Description |
|---|---|
| Dust Cloth | Wipe down the surface with a dry dust cloth to catch loose particles. |
| Damp Cloth | Use a damp cloth to capture stubborn dust that clings to the metal. Make sure to let it dry completely before painting. |
| Regular Checks | Periodically check for dust accumulation during the drying process to maintain a clean surface. |
A clean, dust-free surface is essential because even tiny particles can mar your paint job. Remember, a thorough dust removal process will lead to a polished look for your decor pieces. By employing these dust removal techniques, you'll set the stage for a flawless finish on your metal wall decor. So don't skip this critical step; it can make all the difference!
Secure Installation Methods
How can you guarantee your metal wall decor is securely installed for a polished look? Start by using secure installation methods that ascertain stability. Opt for multipurpose wood screws and an electric drill; they provide better support than traditional hammer and nails.
First, measure and mark your desired hanging location accurately. This helps you avoid unnecessary holes and ensures your decor hangs level.
Next, choose the right fasteners based on the surface material. If you're hanging your metal decor on brick walls, for example, masonry screws are essential to maintain the integrity of the surface. For heavier pieces, consider using wall anchors. They distribute weight evenly, preventing sagging or damage to your wall.
Lastly, always double-check that all painted pieces are completely dry before hanging. This prevents smudging and guarantees a clean, professional appearance.
Cost Estimate for Project
Estimating the total cost for your DIY metal wall decor project can be as low as $12, primarily for spray paint and sandpaper. Here's a breakdown to help you understand the cost estimate for the project:
| Item | Estimated Cost |
|---|---|
| Spray Paint (1 can) | $5 – $10 |
| Sandpaper (1 sheet) | $1 – $3 |
| Additional Spray Paint | $5 – $10 (if needed) |
| Total | $12 – $33 |
Each can of spray paint typically costs between $5 to $10, depending on the brand and finish you choose. Rough grit sandpaper, essential for surface preparation, can be purchased for about $1 to $3 per sheet. If your project requires multiple cans of spray paint to achieve full coverage on larger or intricate pieces, your costs will increase accordingly.
Styling and Placement Ideas
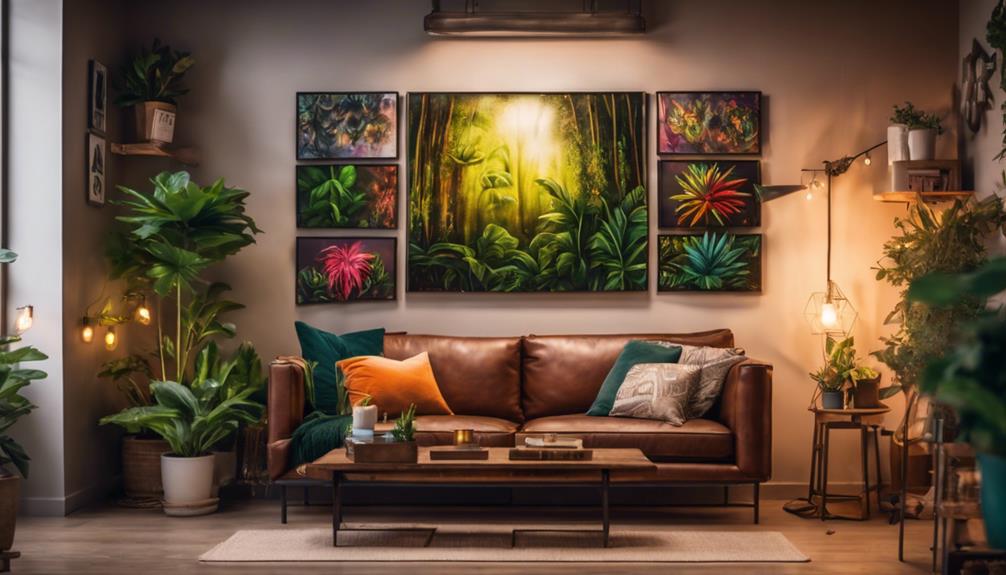
When styling your metal wall decor, think about how to coordinate colors with your existing furnishings for a cohesive look.
Placement is key, so hang larger pieces at eye level to create a striking focal point and group smaller items for a more dynamic display.
Color Coordination Strategies
Effective color coordination in metal wall decor can elevate your space by complementing existing decor and adding visual interest. Start by selecting a color palette that harmonizes with your room's theme. For instance, if you have a vibrant painted bench, consider pairing it with white wall decor to create a novel, eye-catching look.
Contrasting colors work wonders too; think about using black or teal metal pieces against light-colored walls to guarantee they stand out. This contrast not only draws attention but also adds depth to your decor.
To keep things dynamic, incorporate seasonal wreaths or decor elements around your wall art. This strategy enhances the overall appeal and allows for a revitalizing change throughout the year.
For a cohesive design, make certain the finishes of your metal decor match or complement other furniture and accents in the room. Matching the sheen of your metal pieces to nearby fixtures creates a unified look. By carefully considering your color palette and finishes, you can create a stunning display that truly enhances your space.
Placement for Visual Impact
How you place your metal wall decor can greatly enhance the visual impact of your space. Start by positioning your piece at eye level to create a striking focal point. You'll be amazed at how a simple change in height can transform your wall art.
Consider grouping hanging metal pieces in odd numbers, like three or five; this arrangement tends to work better and feels more dynamic.
Don't forget to use contrasting colors to make your metal piece pop against the background. For example, if your wall is a neutral glider, a vibrant metal wall piece would work wonders.
Mixing different sizes and shapes also adds depth and texture, making your decor visually engaging.
Position your decor near complementary elements, such as furniture or artworks, to create a cohesive look. If you're browsing for DIY project ideas, think about how your piece looks alongside other decor.
It's super easy to find inspiration online, so pin this post or check out a website in this browser for more tips. You won't believe how much a well-placed metal wall decor can elevate your space!
Tips for Distressed Look
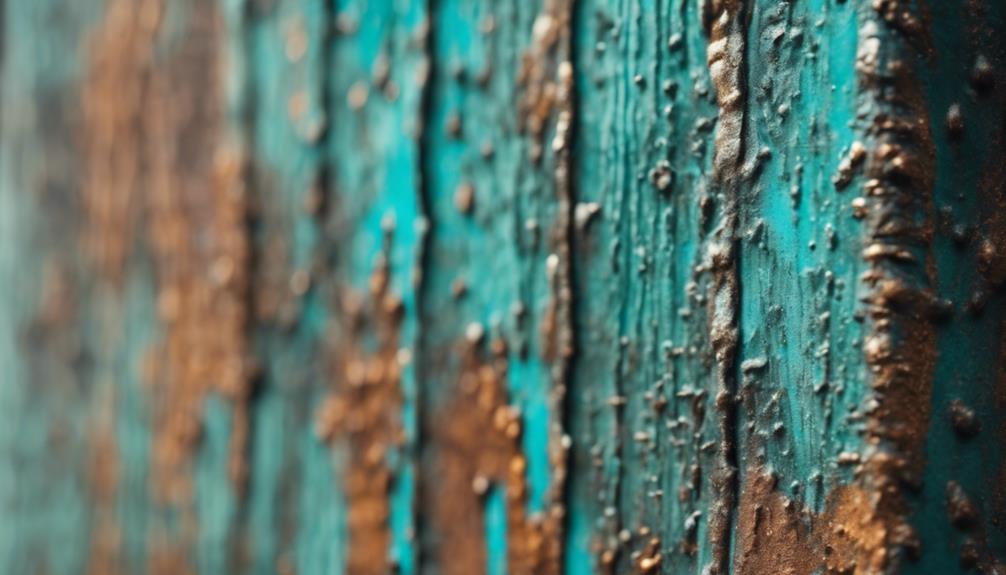
To achieve a stunning distressed look on your metal decor, start with a dry brushing technique that applies minimal paint in quick, random strokes. This method allows you to create texture without filling in the grooves of the metal, giving it a naturally worn appearance.
If you opt for spray paint, make sure you use light, even coats and avoid oversaturating the surface.
Once the paint dries, lightly sand the edges of your decor. This step enhances the distressed effect, adding character and depth to your pieces. Remember, metal surfaces can take longer to dry than wood, so allow adequate drying time between coats to prevent smudging.
If you accidentally apply too much paint, don't worry! Just use damp paper towels to wipe off the excess before it dries; this makes corrections easy.
Community Engagement and Feedback
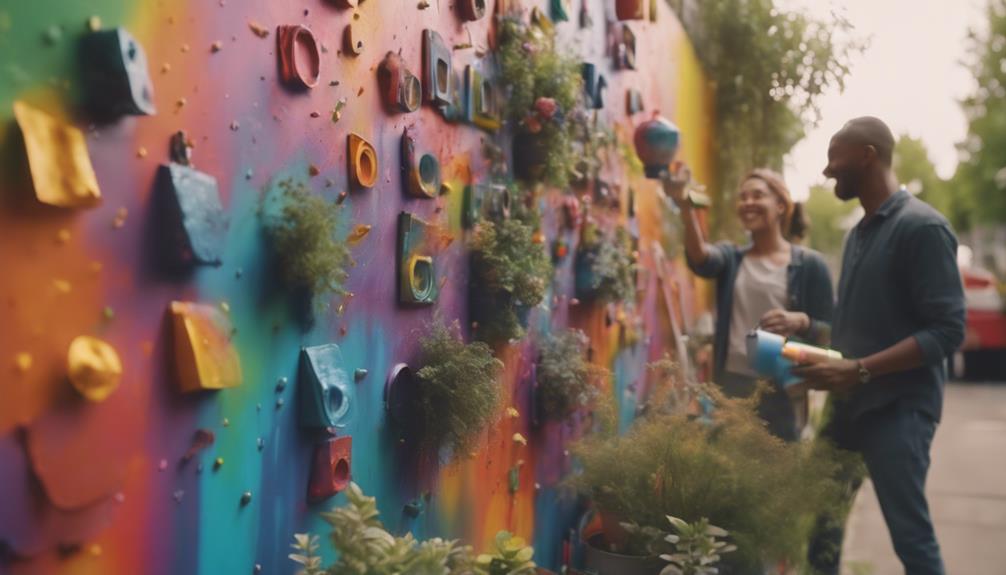
Building on the techniques for achieving a distressed look, community engagement has proven invaluable in inspiring DIY enthusiasts to explore their creativity through metal wall decor projects.
By connecting with others on platforms like Facebook and Instagram, you'll find a wealth of positive feedback and encouragement that fuels your passion for DIY.
Here are three ways community interaction can enhance your projects:
- Technique Sharing: Followers often express gratitude for shared tips, particularly on applying distressed looks to metal surfaces. You can gather unique insights that might elevate your work.
- Paint Recommendations: Many enthusiasts seek guidance on the best paint types for metal, prompting discussions that can lead to valuable advice and product suggestions from experienced DIYers.
- Before and After Inspirations: Sharing your transformation photos not only showcases your work but also inspires others to initiate their own projects. This exchange of experiences fosters excitement and a sense of belonging in the DIY community.
Future DIY Projects and Plans

Exploring new ideas for future DIY projects can spark your creativity and lead to stunning transformations in your metal wall decor. Start by gathering inspiration from social media platforms like Pinterest, where you'll find a plethora of unique ideas. Regularly updating your decor not only refreshes your space but also engages your audience, who'll appreciate your innovative designs.
Consider intentionally sourcing thrifted items for your upcoming projects. You might discover one-of-a-kind pieces that enhance your personal style while keeping your budget intact. Don't shy away from experimenting with different painting techniques, such as dry brushing or layering colors. These methods can add depth and character to your metal decor, making your creations stand out even more.
Engaging with a community of DIY enthusiasts can also be invaluable. By sharing ideas and techniques, you create a supportive environment that encourages tackling new projects together. This collaboration can lead to exciting outcomes, inspiring you to explore even bolder designs.
As you plan your future DIY endeavors, keep an open mind and let your imagination guide you toward new artistic horizons.
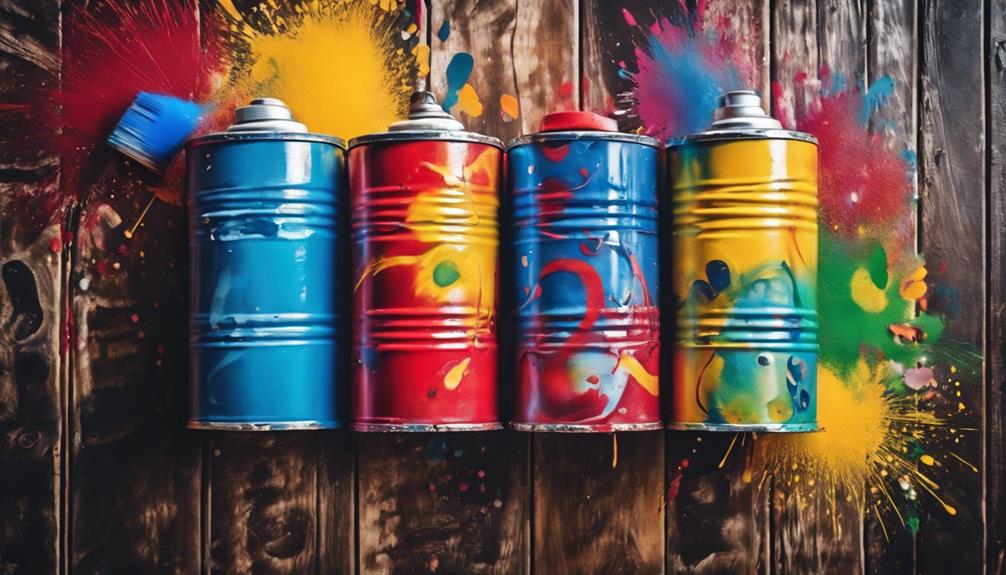
Recommended Paint Types
Choosing the right paint type is essential for achieving a stunning finish on your metal wall decor projects. With various options available, you can find the perfect paint to match your style and needs. Here are three recommended paint types to take into account:
- Rust-Oleum Universal Hammered Paint: This paint is fantastic for creating a textured metallic finish. It's available in multiple colors, allowing you to choose the perfect shade for your decor.
- Krylon Spray Paint: If you're looking for versatility, Krylon is the way to go. It lets you mix and match colors and textures, making it ideal for custom projects where you want to express your creativity.
- Rust-Oleum 2X Spray Paint: Formulated specifically for metal surfaces, this paint guarantees excellent adhesion and coverage with fewer coats. It's perfect when you want a smooth, durable finish.
Don't forget to seal your painted surfaces with Clear Rust-Oleum Spray for added durability. This will protect your decor from wear and tear, guaranteeing it looks great for years to come!
Frequently Asked Questions
What Do You Put on Metal Before Spray Painting?
Before spray painting metal, you should clean the surface thoroughly, remove rust with sandpaper, and apply a metal-specific primer. This guarantees better adhesion and a durable finish for your project. Don't skip these steps!
How Do You Make Spray Paint Look Good on Metal?
To elevate your spray painting game, start with a clean surface and apply multiple thin coats. Embrace a dry brushing technique for that charming distressed look, and don't forget to sand for a polished finish!
Can I Just Spray Paint Over Metal?
Yes, you can spray paint over metal, but you need to clean it first. Using a metal primer, lightly sanding the surface, and applying multiple thin coats will guarantee better adhesion and a smoother finish.
Can I Spray Paint Metal Without Sanding?
Yes, you can spray paint metal without sanding if it's clean and dust-free. Using a metal primer enhances adhesion, but for glossy surfaces, a light scuff might help. Always guarantee proper ventilation during the process.
Can I use the same technique for repainting metal wall decor as I would for spray painting it?
Yes, you can use the same technique for repainting metal wall decor as you would for spray painting it. Make sure to clean the surface thoroughly, use a metal primer, and apply thin and even coats of spray paint. This will ensure a smooth and professional-looking finish for your repainting metal wall decor project.
Conclusion
As you stand before your newly painted metal masterpiece, think of it as a phoenix rising from the ashes.
You've transformed raw materials into art, breathing new life into your space.
Each spray stroke tells a story, much like a tapestry woven from threads of creativity and effort.
Embrace the journey, and let your imagination soar.
Your next project awaits, ready to take flight, promising even more vibrant colors and tales to tell in your home.