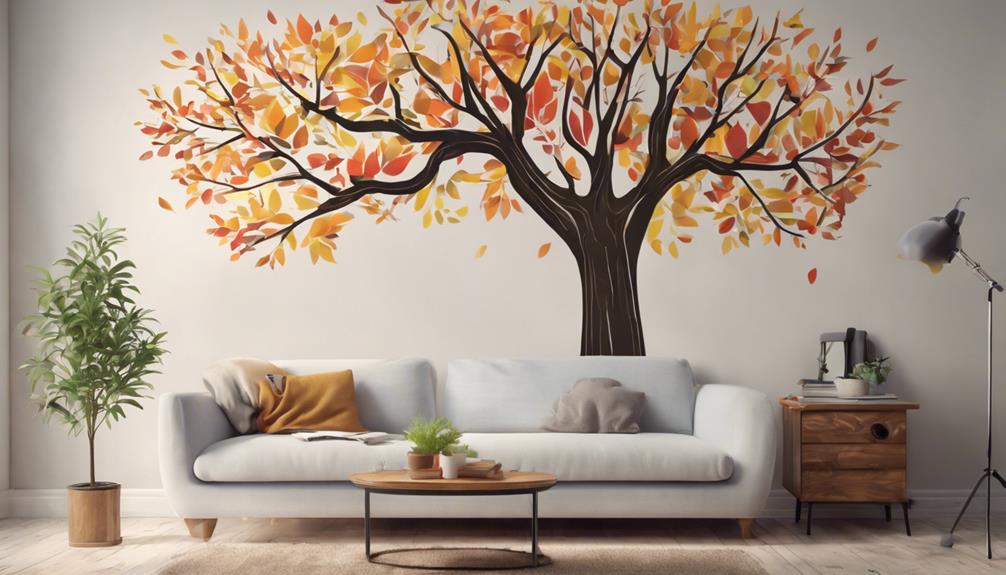
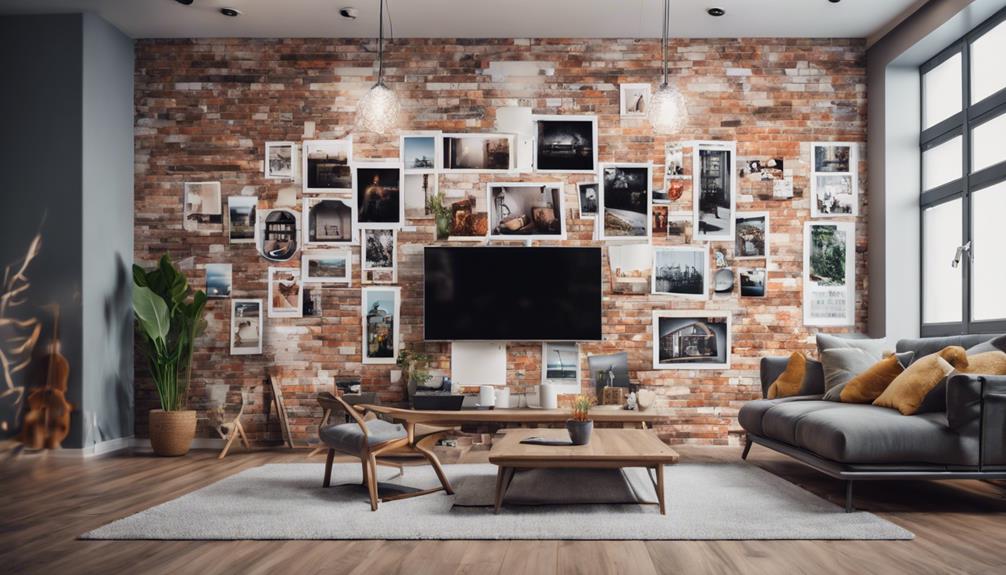
Applying wall decals is a simple process as long as you follow some basic steps. To begin, make sure your surface is clean and dry by wiping it down and allowing 14 days to pass after painting. When you are prepared, use masking tape to position the decal correctly. Carefully peel off the backing paper to prevent any air bubbles, then utilize a squeegee to press the decal from the center outwards. If the decal moves, you can usually adjust its position. For designs with multiple parts, align each section meticulously. Lastly, keep your decals looking great by cleaning them on a monthly basis. Stay tuned for more tips to elevate your decor!
Key Takeaways
- Ensure the surface is clean, dry, and smooth for optimal adhesion before applying wall decor stickers.
- Use masking tape for alignment and position the decal with backing paper attached initially.
- Slowly remove the backing paper while using a squeegee to press out air bubbles from the center outward.
- For multi-part decals, confirm alignment with the first section and apply pressure to secure all edges.
- Clean decals monthly with a soft cloth, avoiding harsh chemicals to maintain their appearance and longevity.
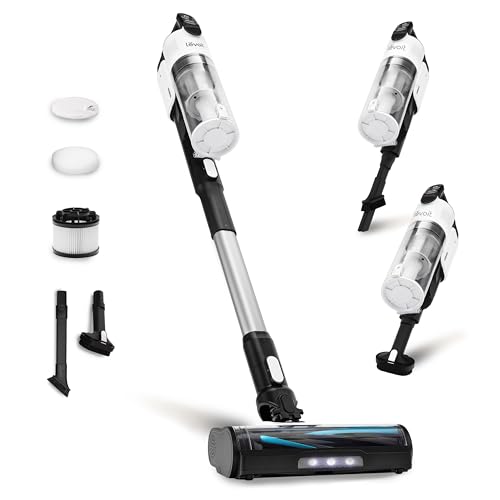
LEVOIT Cordless Vacuum Cleaner, Stick Vac with Tangle-Resistant Design, Up to 50 Minutes, Powerful Suction, Rechargeable, Lightweight, and Versatile for Carpet, Hard Floor, Pet Hair, LVAC-200
Tangle-Resistant Design: Pick up more hair and deal with less tangles, whether it’s human hair or pet hair.
As an affiliate, we earn on qualifying purchases.
Preparation for Application
Before you apply wall decor stickers, make sure the surface is clean and dry to guarantee the best adhesion. Start by wiping the wall with a damp cloth to remove dust and debris. If the wall's been freshly painted, wait at least 14 days for it to dry completely. This preparation for application is essential for achieving the best results.
Next, gather your tools, such as a smoothing tool, scissors for trimming, and a level for alignment. Lay out the decal sheets flat near your desired location to prevent creasing and to visualize the design for best placement. Before committing to the final position, use temporary taping to hold the decal in place while you assess how it looks. This step allows for easy adjustments if needed.
It's also important to check the weather conditions before applying your stickers. Aim for dry, non-humid days to guarantee the best adhesion. By following these steps, you'll set yourself up for success and enjoy a beautiful, long-lasting display in your space.

Cordless Vacuum Cleaner, Upgraded 650W 55KPA 70Mins Cordless Stick Vacuum Cleaner with Self-Standing and Touch Screen, Anti-tangle Wireless Vacumm, Vacuum Cleaners for Home/Pet Hair/Carpets/Floors
[55KPA Powerful Suction] Cordless vacuum cleaner is equipped with a powerful 650W brushless motor with the strongest suction...
As an affiliate, we earn on qualifying purchases.
Step-by-Step Application Process

Once you've prepared the wall, it's time to follow a step-by-step process for applying your wall decor stickers effectively.
Start by cleaning the surface thoroughly to eliminate dust and oil, guaranteeing ideal adhesion when you apply wall decals.
Next, position the decal with the backing paper still attached. Use masking tape to secure it temporarily, checking for alignment before final placement.
Now, carefully remove the backing paper, rolling it onto itself to avoid air bubbles. As you start applying the wall decal, guarantee smooth contact with the wall.
To secure it firmly, use a squeegee or a credit card, pressing from the center outward. This will help eliminate any trapped air bubbles, giving your decor a professional finish.
If you find any misalignment, don't worry! You can carefully peel the decal away from the wall and reposition it as needed. Most decals can be reapplied multiple times without damage, making the process easier.

KARDV Cordless Vacuum Cleaner, 500W/40Kpa Vacuum Cleaners for Home, 60Mins Stick Vacuum with LED Display, Anti-Tangle & Wall Mount Charging, 8 in 1 Lightweight Vacuum for Hard Floors Carpet Pet Hair
【500W/40Kpa Powerful Suction】 The cordless vacuum cleaner is equipped with a powerful 450W motor, which provides a superb...
As an affiliate, we earn on qualifying purchases.
Tips for Multi-Part Decals
When applying multi-part decals, start by carefully peeling the backing from the first section and secure it to the wall with masking tape for precise alignment. This will help you visualize the layout before making it permanent. Use a squeegee to smooth out the decal, applying pressure from the center outward to eliminate air bubbles.
| Step | Action | Tips |
|---|---|---|
| 1 | Remove the backing paper | Do this slowly to avoid tears |
| 2 | Position on the wall | Use masking tape for support |
| 3 | Apply pressure with a squeegee | Work from the center outward |
| 4 | Align the next part | Confirm it matches the first |
| 5 | Reposition if needed | Gently peel and adjust |
After completing the application, make certain all edges are smoothed down securely. This not only enhances durability but also boosts the visual appeal of your design. If you need to adjust any sections, multi-part decals allow for easy repositioning, making it a simple way to add a unique touch to your space.

Shark Pet Cordless Stick Vacuum | XL Dust Cup, LED Headlights, Removable Handheld Vac, Crevice Tool | Portable Vacuum for Pet Hair | Carpet & Hard Floors | 40-Min Runtime | Ice Blue | IX141AMZ
POWERFUL PERFORMANCE: Hypervelocity suction provides incredible cleaning performance for everyday messes and high-traffic areas
As an affiliate, we earn on qualifying purchases.
Surface Compatibility Considerations
Choosing the right surface for your wall decals can greatly impact their adhesion and overall appearance. To achieve the best results, always apply your stickers on smooth surfaces like painted walls, flat metals, or glass. These surfaces guarantee peak stickiness and allow your unique designs to shine without any air bubbles or peeling.
Avoid highly textured surfaces such as stucco or cinder blocks, as these can compromise the adhesion of your decals. If you're dealing with surfaces that have excess oil or dirt, it's best to clean them thoroughly first. This helps prevent the decals from lifting over time.
If you've recently painted your wall, remember to wait at least 14 days before applying decals. This curing period is essential for securing proper adhesion while protecting your paint from damage.
In bathrooms, tiles are great for applying stickers, but make sure the walls are completely dry and free from moisture to enhance durability.
Maintenance and Care for Decals
Regular maintenance is key to keeping your wall decals looking fresh and vibrant over time. To extend the life of your wall stickers, follow these simple tips. First, you should regularly clean wall decals using a soft, dry cloth to prevent dust accumulation. Avoid harsh chemicals or abrasive materials, as they can damage the decals. In high-humidity areas, like bathrooms, guarantee proper ventilation to minimize moisture buildup that can lead to peeling.
If the edges of your decals start to lift, you can simply peel them back gently, reheat the edges with a hairdryer, and press them down to secure them again. When you need to remove a decal, use Transfer tape for easy handling and to maintain its shape.
Here's a quick reference table for your maintenance routine:
| Action | Frequency | Notes |
|---|---|---|
| Clean wall decals | Monthly | Use a soft, dry cloth |
| Check edges for lifting | Every 3 months | Reheat and press down if necessary |
| Store removed decals | As needed | Keep on original liners or wax paper |
Frequently Asked Questions
How to Apply Wall Decor Stickers?
To apply wall decor stickers, clean the wall, position the sticker with masking tape, peel the backing, and smooth it from the center out. Use a squeegee for even adhesion and a neat finish.
How to Make Wall Stickers Stick Better?
Did you know 70% of wall stickers fail due to improper application? To make yours stick better, clean the surface, let fresh paint cure, and use a smoothing tool to eliminate air bubbles.
How to Apply Wall Stickers Evenly?
To apply wall stickers evenly, start by temporarily taping them in place for alignment. Use a level to guarantee straightness, then peel and press from the center outward, smoothing out any air bubbles as you go.
Are Wall Stickers Easy to Apply?
Oh, absolutely! Wall stickers are as easy to apply as a toddler's finger painting. You just peel, stick, and hope for the best—unless you want to actually get it right. Then, it's a different story!
What Are Some Creative Tips for Applying Wall Decor Stickers?
Looking to spruce up your space? Try these creative wall decor stickers ideas to add some flair to your walls. Mix and match different styles and sizes, create a unique pattern, or use them to accentuate a focal point. The possibilities are endless with wall decor stickers.
Conclusion
In the world of wall decor, stickers can transform a blank canvas into a vibrant masterpiece with just a little effort.
By following these tips, you'll not only simplify the application process but also guarantee your decals look flawless for years to come.
Remember, a well-decorated wall is like a smile in a room—it brings warmth and joy.
So, grab your decals, and let your creativity shine! Your walls are waiting to tell your story.