
Painting wood wall decor is a fun way to add your personal style to any space. Start by gathering essential tools like a miter saw, drill, and sandpaper. Choose high-quality wood, such as plywood or pine boards, for durability. Sketch your design layout and mark accurate measurements before cutting. Once assembled, sand the wood for a smooth finish and apply two coats of acrylic paint. Finish with a clear sealant for protection. Finally, hang your art at eye level for the best effect. Keep going, and you'll discover even more tips to create unique wall decor that stands out!
Key Takeaways
- Start by sanding the wood surface with 220 grit sandpaper for a smooth finish before painting.
- Use acrylic paint for vibrant colors; apply at least two coats for even coverage.
- Consider using a primer to enhance paint adherence, especially on raw or dark wood.
- Mix Elmer's glue with paint for unique textures and effects on your artwork.
- Finish with a clear polyurethane sealant to protect the painted surface and add durability.

BAGAIL 8 Set Packing Cubes Luggage Packing Organizers for Travel Accessories-Cream
- Premium Durable Fabric: Resists wrinkles, stains, and wear
- Water-Repellent Material: Protects clothes from spills and leaks
- Lightweight Design: Easy to pack without adding weight
As an affiliate, we earn on qualifying purchases.
Project Overview and Inspiration
Have you ever thought about transforming your space with DIY wood wall decor that reflects your personal style? These DIY projects not only allow you to create beautiful wood pieces, but they also enable you to craft unique statement pieces that enhance your home decor.
Whether you favor modern geometric patterns or nature-inspired designs, wood wall decor can adapt to any theme, making it a versatile choice for your living areas.
With the right inspiration, you can use reclaimed or scrap wood to produce stunning art without breaking the bank. Imagine crafting a one-of-a-kind wall hanging that showcases your creativity while promoting sustainability.
Plus, these projects provide an excellent opportunity to develop your DIY skills, whether you're a beginner or more experienced. You can experiment with different techniques, from basic woodworking to advanced painting, all while enjoying the satisfaction of creating something truly unique for your home.
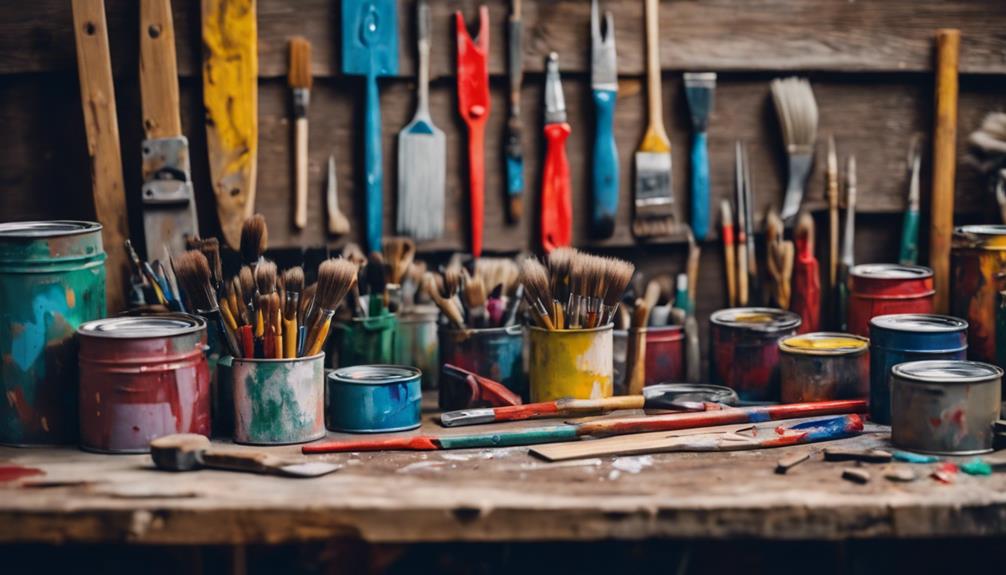
Tools and Materials Needed
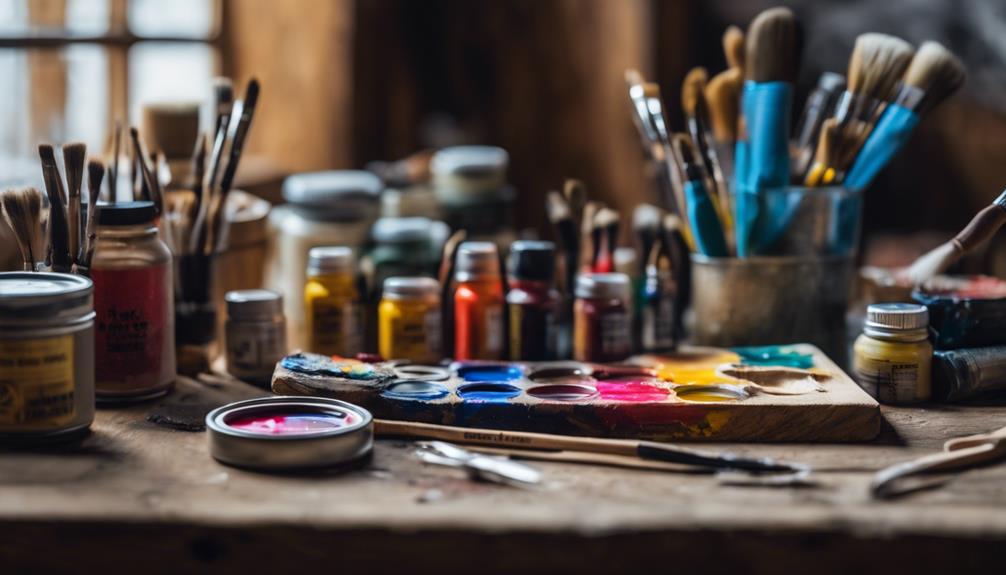
To create stunning wood wall decor, you'll need a few essential tools and materials.
Start by gathering items like a quality brush, sandpaper, and painter's tape, along with durable paint and a protective sealant.
These choices will guarantee your project not only looks great but also stands the test of time.
Essential Tools Overview
When creating your wood wall decor, gathering essential tools like a miter saw, drill, and sander is important for achieving the best results. The miter saw will allow you to make precise cuts, ensuring your pieces fit together seamlessly. A measuring tape is necessary for accurate dimensions, so you can mark your wood correctly with a pencil.
Once your pieces are cut, use a sander with 220 grit sandpaper to smooth the surfaces before painting, giving you a professional finish. You'll also need a drill for assembling the pieces, and wood glue is essential for securing them together, guaranteeing a sturdy final product.
Don't forget about safety gear, such as goggles and gloves, to protect yourself from splinters and dust during the woodworking and painting processes. If you want to apply paint or stain, a paintbrush or foam brush can help you achieve an even coat.
Recommended Material Choices
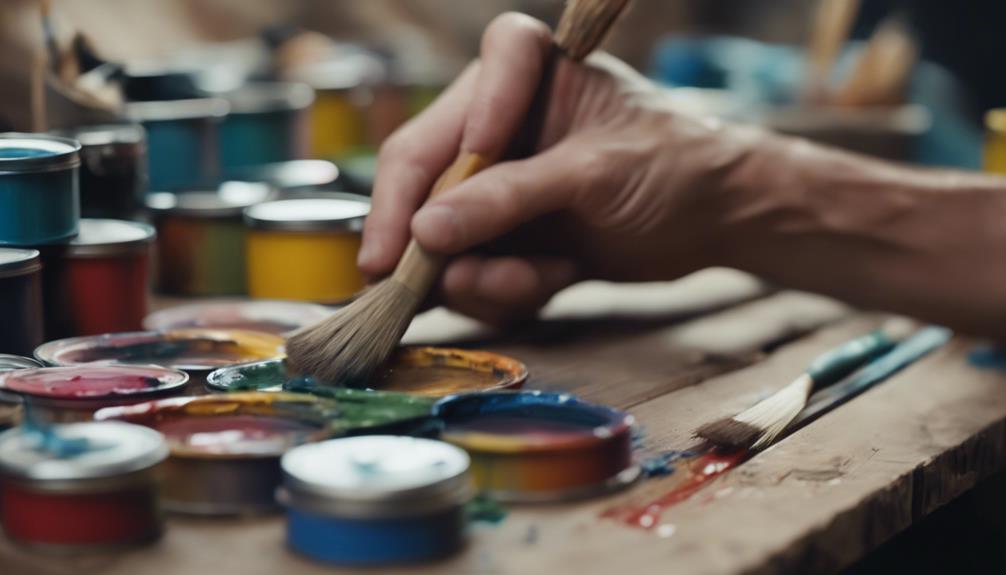
Choosing the right materials is vital for creating stunning wood wall decor that stands the test of time. Start with high-quality acrylic paint; it provides vibrant colors and a durable finish suitable for various wood types.
Before you begin painting, consider applying a primer. This step enhances adhesion and guarantees an even color application, especially if you're working with raw or previously stained wood.
You'll need a set of brushes, including detail brushes for intricate designs and larger flat brushes for efficiently covering bigger areas. Preparing the wood surface is important, so grab sandpaper in various grits—220 grit for smoothing and 320 grit for finishing—to achieve a polished look.
Once your painting is complete, don't skip the sealant. Using a sealant, like polyurethane or a water-based topcoat, protects your artwork from scratches and moisture, making sure it lasts.
By selecting these vital materials, you'll set yourself up for success in your painting project, making your wood wall decor not only beautiful but also durable.
Happy crafting!
Preparation and Cutting Steps

To kick off your project, you'll want to choose the right materials, like high-quality plywood or reclaimed wood, for a flawless finish.
Next, focus on your cutting techniques—using the right saws will make all the difference in achieving clean and accurate cuts.
Material Selection Tips
How can you guarantee a successful DIY wood wall decor project? Start by selecting high-quality materials like 1/2 inch plywood for the backing and 1 x 2 inch pine boards for the decorative elements, making certain they're free from warps or defects. Choosing the right wood materials is essential, as it impacts the overall look and durability of your project.
Here are some material selection tips to keep in mind:
- Plywood: Opt for 1/2 inch plywood for a sturdy backing that can hold the weight of your decorative pieces.
- Measuring Tape: Use a measuring tape and pencil to mark accurate dimensions, ensuring your pieces fit together seamlessly.
- Wood Stains: Consider different wood stains to enhance the natural beauty of your wood materials and complement your decor.
Once you've gathered your materials, you'll be ready for the next steps. Remember, good preparation sets the stage for a successful DIY project, so take the time to select and measure carefully!
Cutting Techniques Overview
With your materials ready, mastering cutting techniques is the next step to achieving clean lines and precise shapes for your wood wall decor. Start by measuring and marking your wood accurately with a measuring tape and pencil. This is vital to avoid mistakes that could affect your entire wood wall art project.
For geometric wall art, cut pieces into equal lengths, typically around 8 1/2 inches for the longest sections, depending on your design. Use a miter saw to make precise 45-degree cuts for framing and angled designs, guaranteeing clean edges and professional-looking joints.
If you're working with larger pieces of plywood, a table saw is your best bet for making straight cuts. This guarantees a smooth, even finish, which is essential for the backing of your wall art.
Always prioritize safety; wear goggles and ear protection when operating power tools to protect yourself from injury and wood dust exposure.
Design Layout and Assembly

Creating a detailed design layout is essential for ensuring your wood wall decor turns out cohesive and visually appealing. Start by sketching your ideas on paper or using design software like Canva. Visualizing angles and shapes before assembly can save time and effort.
Once you have a clear vision, lay out the wood wall art pieces on the plywood without gluing. Using scrap wood as spacers will help maintain consistent spacing between pieces.
Here are three key steps to follow during assembly:
- Frame Assembly: Cut your frame pieces at 45-degree angles for perfect corner joints, ensuring a sturdy and well-aligned frame.
- Securing the Pieces: Use wood glue to attach the wood wall art pieces securely, and clamps to hold them in place while the glue dries (around 30 minutes).
- Final Touches: After the assembly, consider applying two coats of stain and a protective coat of polyurethane for added durability and a polished look.
Painting and Finishing Techniques
Painting and finishing your wood wall decor can transform its appearance, adding depth and character that enhances your overall design.
To start your project, make sure the wood surface is properly sanded with 220 grit sandpaper for a smooth finish. This step helps the paint adhere better. Use acrylic paint for vibrant colors and easy cleanup, applying at least two coats for an even finish. Allow 1-2 hours of drying time between applications.
If you're working with raw wood or switching from a dark to a light color, consider using a primer. This can enhance paint coverage and reduce the number of coats needed.
For a unique texture, mix Elmer's glue with black paint and apply a thin layer. This technique can create a weathered wood effect that complements rustic designs beautifully.
Once you've finished painting, don't forget to protect your artwork. Applying a clear polyurethane sealant adds durability and a glossy finish, making your wood decor suitable for various environments.
With these painting and finishing techniques, your project won't only look stunning but also stand the test of time. With these painting and finishing techniques, your project won’t only look stunning but also stand the test of time. By incorporating sanders’ progressive vision, each surface is smoothed and prepared to perfection, ensuring flawless results. This meticulous approach not only enhances the aesthetic appeal but also adds durability and longevity to your work.
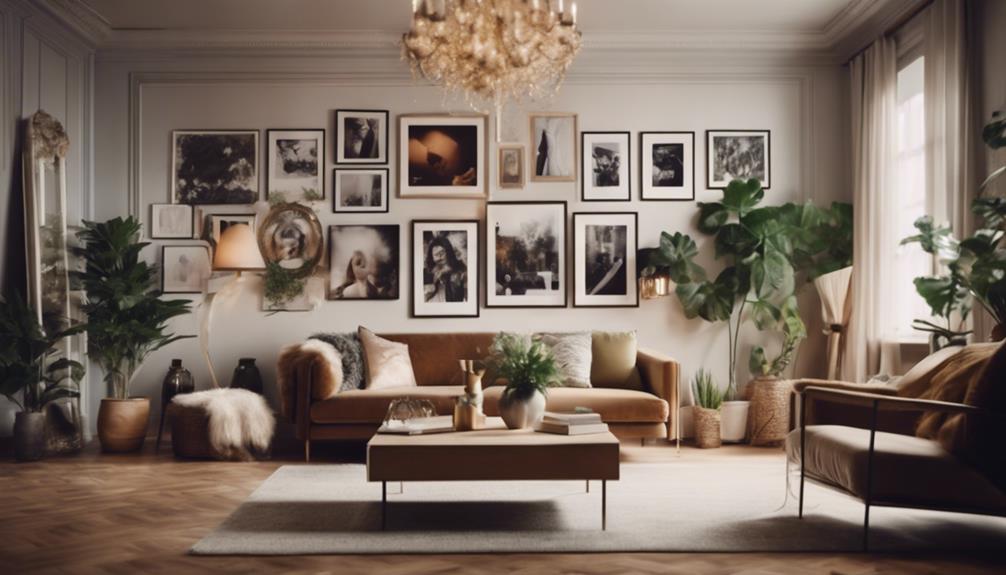
Installation and Display Options

After perfecting your painting and finishing techniques, it's time to focus on how to effectively install and display your wood wall decor. For a successful installation, consider these key tips:
- Choose the Right Hanging Method: Use a French cleat or sawtooth picture hangers for secure mounting. If you prefer a damage-free option, Command Picture Hanging Strips work wonders, allowing you to reposition or remove your decor without harming the wall.
- Eye Level Placement: Aim to place your artwork at eye level, typically around 60 inches from the floor to the center of the piece. This creates a visually appealing focal point that draws attention.
- Create a Gallery Wall: If you're arranging multiple pieces, leave 2-3 inches of space between each item. This spacing maintains a cohesive look while allowing each piece to stand out individually.
Don't forget about lighting! Incorporating wall sconces or spotlights can enhance the colors and textures of your wood wall decor, adding depth and drama to your display.
With these tips, your decor project will truly shine!
Community Feedback and Ideas

Community feedback showcases the joy and creativity DIY enthusiasts find in crafting unique wood wall decor projects that reflect their personal styles.
Many of you express satisfaction with the affordability and creativity involved in painting wood art. You love this project because it allows you to infuse your personality into each piece.
Participants often suggest adding personal touches, like family initials or meaningful quotes, to enhance the beauty and significance of your creations. You'll find that using stencils or templates makes it easy to achieve precise designs, making these projects accessible even for beginners.
The sense of community is strong, with many sharing their finished pieces on social media. This inspires others to try their hand at DIY wood decor, creating a supportive environment where ideas flourish.
Looking ahead, some of you have expressed interest in exploring mixed media techniques. Combining painting with natural elements, such as twigs or leaves, could add texture and interest to your art.
Keep sharing your thoughts and creations; your feedback is invaluable in shaping future projects!
Frequently Asked Questions
How to Make Wood Art for Beginners?
To make wood art as a beginner, gather scrap wood, cut it to size, design a layout, sand the pieces, paint with desired colors, and seal your creation for a lasting finish. Enjoy the process!
How to Hang Wood Wall Art?
Hanging wood wall art isn't just about aesthetics; it requires careful planning. You'll want to use a French cleat system or secure nails into wall studs, ensuring your art stays level and safe.
How Do You Decorate a Simple Wall?
To decorate a simple wall, choose a focal point like art or a gallery wall. Incorporate textures, use a complementary color palette, add shelves for personal items, and consider decals for a temporary design change.
Conclusion
You've transformed your space with beautiful painted wood wall decor, and that's something to be proud of!
Did you know that 60% of homeowners report feeling more relaxed in a well-decorated environment?
By adding your personal touch to your walls, you're not just enhancing aesthetics; you're also creating a calming atmosphere.
So hang up your masterpiece, enjoy the compliments, and remember that your creativity can positively impact your mood and home.
Happy decorating!