Applying Trivink wall decor can truly enhance your space. Begin by choosing appropriate areas and measuring them accurately. Thoroughly clean the surface to ensure the decals adhere well. When selecting decals, think about colors and patterns that complement your current decor. Use painter’s tape to position them perfectly and prevent air bubbles by pressing from the center outward. Once applied, allow the decals to set undisturbed for at least 24 hours. For added durability, you may want to consider using a clear adhesive. By following these guidelines, you’ll create a beautiful display that showcases your style. Discover even more creative ideas as you continue to explore!
Key Takeaways
- Thoroughly clean and dry wall surfaces to ensure optimal adhesion before applying decals.
- Measure and plan the layout accurately to achieve visual balance and proportion.
- Use a squeegee to eliminate air bubbles during application for a smooth finish.
- Enhance durability by applying a clear adhesive over the decal for added protection.
- Share and explore community tips for creative design and effective application techniques.

BAGAIL 8 Set Packing Cubes Luggage Packing Organizers for Travel Accessories-Cream
- Premium Durable Fabric: Resists wrinkles, stains, and wear
- Water-Repellent Material: Protects clothes from spills and leaks
- Lightweight Design: Easy to pack without adding weight
As an affiliate, we earn on qualifying purchases.
Preparation and Planning
Before applying your Trivink wall decor, it's important to prepare and plan carefully to guarantee a successful and visually appealing installation.
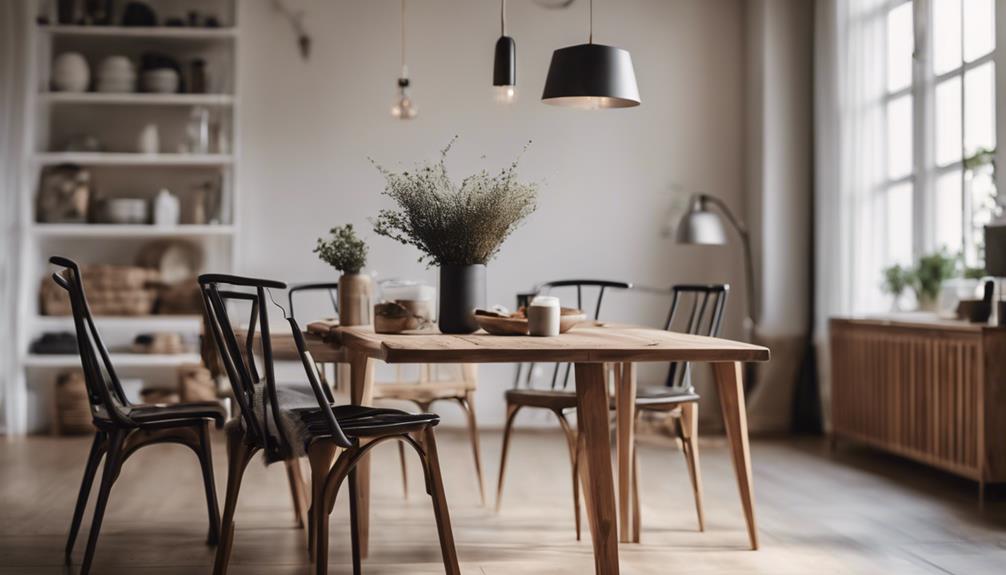
Start by identifying a suitable space for your wall decals. Look for bare walls or areas that need a refresh, ensuring the chosen spot complements your existing decor and color schemes. Measuring the dimensions of the selected area is vital; it helps confirm that the decal fits properly and achieves visual balance within the space.
Next, thoroughly clean the surface where you'll apply wall decals. Remove dirt and oil to promote ideal adhesion, ensuring a long-lasting application.
After cleaning, consider potential layouts for the decal. You can temporarily tape it in place to visualize its impact, allowing you to make adjustments before the final application.
This preparation and planning phase sets the foundation for a successful installation.
Choosing the Right Decal
Selecting the right decal requires careful consideration of the wall space and existing decor to guarantee a harmonious fit. Start by measuring the area where you plan to apply the decal. This assures it's proportionate and visually appealing within the overall room design. Many decals come in preset dimensions, so knowing the measurements will help you avoid any issues.
Next, think about the colors and patterns in your room. Choose decals that complement your existing wall decor to create a cohesive look. For instance, if your space features soft pastels, opt for decals that enhance those hues rather than clash with them.
Explore a variety of shapes and designs, as they can notably affect the room's ambiance. Whether you're aiming for a playful vibe or a minimalist aesthetic, the right decal can set the tone.
Surface Cleaning Techniques
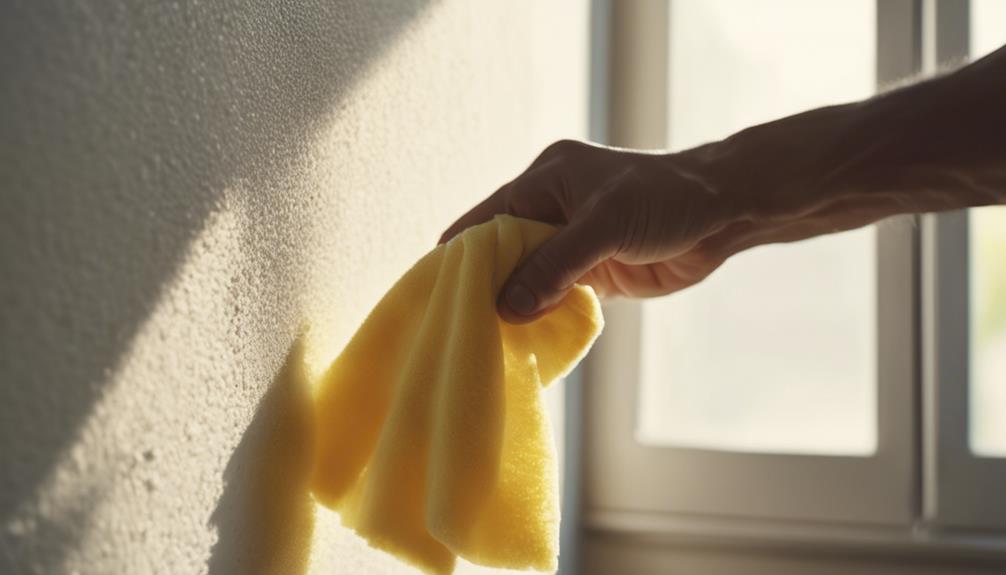
To get your walls ready for Trivink decals, you need to clean the surface properly.
Start with a microfiber cloth to eliminate dust, and then use a mild cleaning solution while ensuring the wall is smooth and dry.
Effective Cleaning Solutions
When preparing your wall for a vinyl decal, using a microfiber cloth to remove dust and debris guarantees ideal adhesion. Start by gently wiping the surface to eliminate any loose particles.
For deeper cleaning, consider using a mild cleaning solution, like a mix of water and vinegar. This solution effectively cleans the wall without damaging the paint or texture. Before applying this cleaning solution, test a small, inconspicuous area to verify compatibility with your wall's finish.
Avoid harsh chemicals and abrasive cleaners, as they can harm the wall and affect the adhesion of your vinyl decals. After cleaning, allow the wall to air dry completely; moisture can interfere with the decal application process and reduce its longevity.
Surface Preparation Steps
Start by using a microfiber cloth to remove any dust and debris from the wall surface, guaranteeing a clean area for your vinyl decal application. This surface preparation step is essential, as any leftover particles can interfere with your decal's adhesive side.
Next, mix a mild cleaning solution with water. Gently wipe the area to eliminate grease and oil, which can compromise the stickiness of your decal. Remember, harsh chemicals or abrasive cleaners can damage your wall's paint or texture, so stick to something gentle.
Before you proceed, it's wise to test your cleaning solution on a small, inconspicuous area. This way, you'll ascertain compatibility with your wall surface without risking any damage.
Once you've completed the cleaning, allow the area to air dry completely. Moisture can hinder the adhesion of your vinyl decals, so make sure your wall is thoroughly dry before moving forward.
Following these steps will set you up for a successful application, guaranteeing your Trivink wall decor looks fantastic and lasts long. Proper surface preparation is key to achieving the best results!
Importance of Drying
Drying the wall surface thoroughly after cleaning is essential for ensuring your decals stick properly and last longer. Moisture can weaken the adhesive bond, causing your decals to peel or lift over time. To promote effective adhesion, allow a minimum of 1-2 hours of drying time after cleaning.
Different wall materials affect drying time, so it's important to take that into account. For instance, porous surfaces like drywall may retain moisture longer than smoother surfaces like painted wood. To speed up the process, use a fan or dehumidifier in the room. Conducting a touch test can also help; if the surface feels dry to your hand, it's likely ready for decal application.
Here's a quick reference to drying times based on wall materials:
| Wall Material | Estimated Drying Time | Adhesive Bond Strength |
|---|---|---|
| Drywall | 2-4 hours | Moderate |
| Painted Wood | 1-2 hours | High |
| Tile | 30-60 minutes | High |
| Concrete | 3-6 hours | Low |
| Wallpaper | 2-3 hours | Moderate |
Keep these tips in mind for a successful decal application!
Accurate Placement Tips

Achieving precise placement of your Trivink wall decor enhances the overall aesthetic, so begin by selecting a reliable reference point on the wall. Use a tape measure to determine the center of your desired area, ensuring the first decal is aligned correctly. To aid in accuracy, employ a laser level to create a horizontal guideline.
Next, measure the overall space and use painter's tape to temporarily secure the top edge of the vinyl wall decals. This allows you to make easy adjustments before final adhesion. Maintain equal spacing between multiple decals by measuring and marking eight inches apart, ensuring a uniform layout throughout your design.
For intricate designs, consider tracing light guidelines on the wall with a pencil to assist in precise placement. Once you've positioned everything, temporarily tape the decal in place with its backing still attached.
Step back to evaluate your arrangement and make necessary tweaks before removing the backing for application. By following these accurate placement tips, you'll create a visually appealing display that enhances your space beautifully.
Application Process Steps
To get started with your Trivink wall decor, you'll need to gather some essential tools and prepare your wall surface.
Cleaning the area and having the right equipment on hand will set you up for a successful application.
Let's break down these important steps to guarantee everything goes smoothly.
Essential Tools Required
When applying Trivink wall decor, you'll need a few essential tools to guarantee a smooth and precise installation.
Start with a measuring tape to measure your wall accurately and maintain consistent spacing between your decals. This guarantees everything aligns perfectly and looks professional.
Next, grab a squeegee. This tool is vital for applying the decals smoothly while eliminating any air bubbles that may form during adhesion. A vinyl wall smoother can also help achieve a flat finish, enhancing the overall look of your decor.
To guarantee precise alignment, a laser level is invaluable. It helps you keep everything straight, especially if you're working with multiple decals. Painter's tape can be handy too, allowing you to temporarily secure decals in place for adjustments before the final application.
Lastly, don't forget a pencil for marking reference points on the wall. This simple tool will guide you in positioning the decals correctly according to your planned layout.
With these essential tools, you'll be well-equipped to transform your space with Trivink wall decor!
Surface Preparation Tips
Choosing a clean, smooth, and dry wall surface is essential for ensuring your Trivink decals adhere properly. Follow these surface preparation tips to guarantee the best results for your custom vinyl application.
First, dust the surface thoroughly using a microfiber cloth. If needed, apply a mild cleaning solution to remove dirt or oil, but avoid harsh chemicals that can damage the paint. After cleaning, let the wall air dry completely to prevent moisture-related issues.
Next, measure the space accurately to find the perfect spot for your decals. Sketch the layout on paper for better visualization. Use tools like a laser level and measuring tape to establish reference points for alignment, ensuring even spacing and correct positioning.
Here's a handy table to keep track of your preparation steps:
| Step | Action | Tools Needed |
|---|---|---|
| Clean Surface | Dust and wipe down wall | Microfiber cloth |
| Remove Dirt/Oil | Use mild cleaning solution | Cleaning solution |
| Dry Surface | Allow wall to air dry | None |
| Measure Space | Measure and mark areas | Measuring tape |
| Visualize Layout | Sketch layout | Paper & pencil |
Dealing With Air Bubbles

Air bubbles can be a frustrating issue during wall decal application, but with the right techniques, you can achieve a smooth finish.
Start by using a squeegee to press the decal from the center outward as you adhere it to the wall. This method effectively pushes out trapped air, minimizing the chances of air bubbles forming.
If you do notice air bubbles after application, don't panic. Gently puncture them with a pin, then smooth the area using your squeegee to guarantee a flat, seamless look.
To prevent bubbles from appearing in the first place, work slowly and methodically. Avoid quick placements or excessive adjustments after the decal makes contact with the wall.
For larger decals, consider dampening the adhesive side with a spray bottle filled with water mixed with a few drops of dish soap. This technique allows for easier repositioning and greatly reduces the likelihood of air bubbles.
Enhancing Durability
Enhancing the durability of your vinyl wall decals requires a few simple yet effective strategies to protect them from wear and fading.
First, consider applying a clear adhesive like Mod Podge over the decal after installation. This extra layer acts as a shield against moisture and cleaning agents that could weaken the adhesive. It's also crucial to allow the decal to set undisturbed for at least 24 hours post-application. This guarantees ideal adhesion and longevity.
Here are some additional tips to enhance the durability of your decals:
- Avoid exposing decals to excessive moisture or harsh cleaning agents.
- Use a soft cloth and gentle cleaning solutions when cleaning around the decals.
- Regularly inspect the edges for any lifting and reapply adhesive as needed.
- Confirm the paper backing is fully removed during application to prevent air pockets.
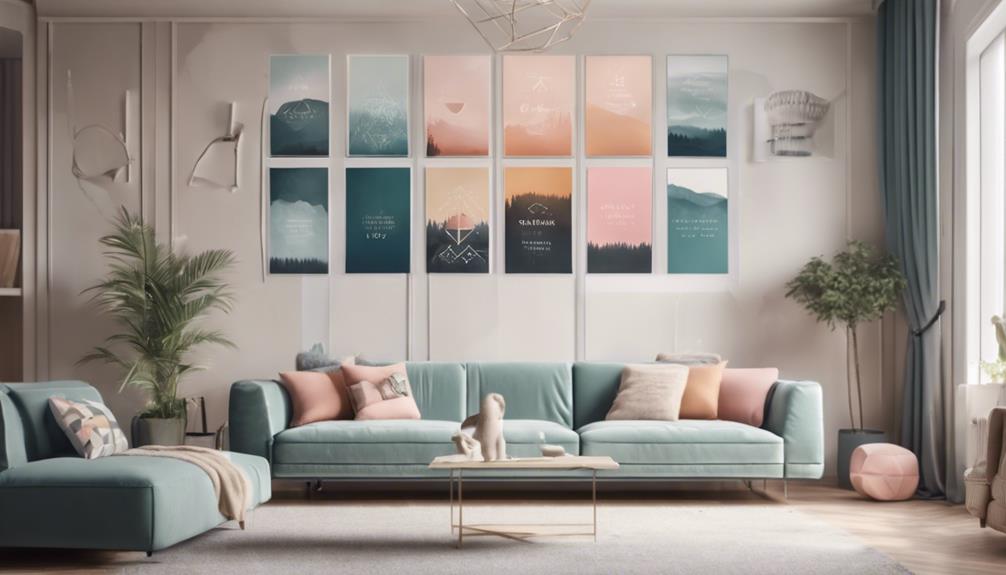
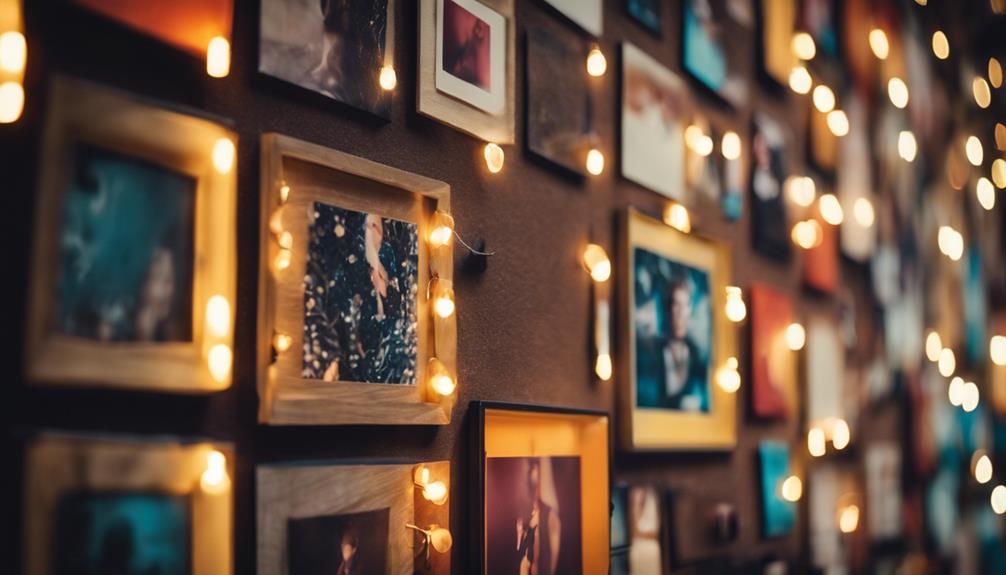
Creative Design Ideas
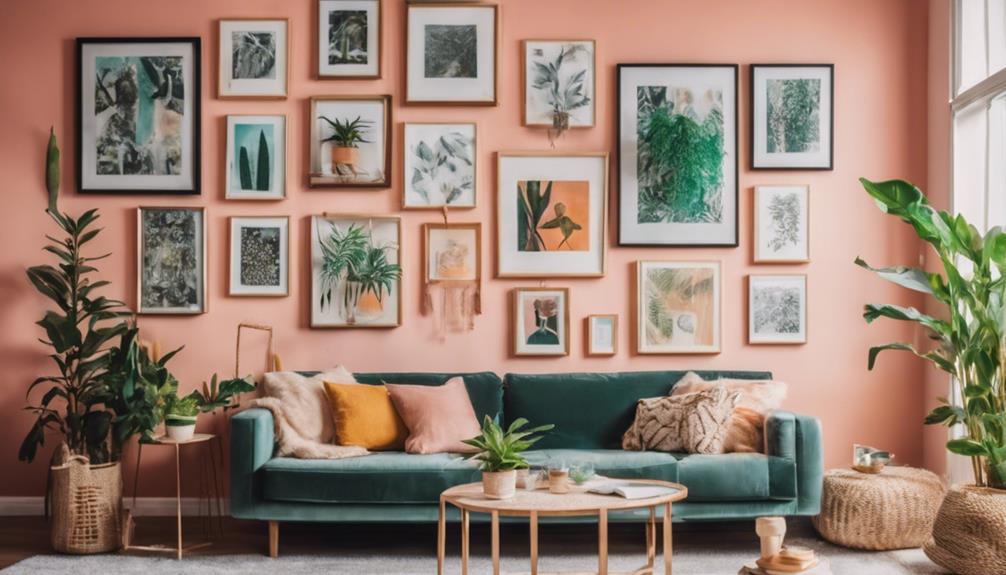
While maintaining your decals is important for longevity, exploring creative design ideas can truly transform your space and reflect your personality. Start by creating a themed gallery wall that combines different sizes and styles of vinyl wall decals. This showcases your personal interests and memories beautifully. You can also use peel-and-stick vinyl to design playful patterns like polka dots or geometric shapes, which are easy to customize as trends and spaces evolve.
Incorporate inspirational quotes or affirmations as wall words to encourage positivity in your living area. Layer multiple vinyl decals in varying colors and sheens to create depth and visual interest. Consider experimenting with removable vinyl tiles for a backsplash in kitchens or bathrooms; it's a cost-effective alternative that can easily adapt to your style.
Here's a quick reference table for your design ideas:
| Design Idea | Benefits | Implementation Tips |
|---|---|---|
| Themed Gallery Wall | Personal expression | Mix sizes and styles |
| Playful Patterns | Easy customization | Use tape for precise placement |
| Inspirational Quotes | Motivates and uplifts | Choose meaningful phrases |
With these ideas, your walls can truly come alive!
Community Sharing and Feedback

Community sharing around Trivink wall decor fosters a vibrant exchange of ideas and techniques that can elevate your decorating experience. Engaging with others in the community not only enhances your creativity but also provides practical tips to make your projects quick and easy.
Here are some ways to benefit from this collaborative environment:
- Application Techniques: Users often share effective spacing and alignment tips that help you achieve a professional finish.
- Custom Designs: Many contribute their unique layouts and designs, inspiring you to personalize your space.
- Cleaning Methods: Discussions frequently highlight various cleaning techniques to guarantee peak adhesion before applying your vinyl decals.
- Cost-Effectiveness: Feedback shows how vinyl decals are a budget-friendly alternative to traditional wallpaper, making them perfect for renters or those seeking temporary decor solutions.
Frequently Asked Questions
What to Do When Wall Decals Won't Stick?
If your wall decals won't stick, clean the surface thoroughly and make certain it's dry. Gently press edges down, use a squeegee for air bubbles, and consider trying a stronger adhesive if needed.
How to Apply Wall Stickers Evenly?
To apply wall stickers evenly, measure and mark reference points, use a laser level for alignment, and temporarily tape the stickers. Start from the center, smoothing outward, and adjust for balance as needed.
Why Is My Removable Vinyl Not Sticking to the Wall?
If your removable vinyl isn't sticking, check the wall's cleanliness and dryness; dirt or moisture can ruin adhesion. Also, verify the vinyl's compatible with the surface and acclimated to room temperature before applying.
How to Apply Large Vinyl Wall Decals?
To apply large vinyl wall decals, clean the wall, measure accurately, and temporarily tape the decal for adjustments. Start from the center and smooth outward with a squeegee, ensuring a bubble-free, flat finish.
What Expert Tips and Tricks Can Help Achieve Perfect Wall Decor Harmony?
Achieve perfect wall balance by using a variety of sizes and shapes when arranging your decor. Mix in artwork, mirrors, and shelving to create visual interest. Pay attention to color and texture to tie the pieces together. Experiment with different layouts to find the perfect harmony for your space.
Conclusion
Now that you're armed with these expert tips and tricks, you're ready to transform your walls into a canvas of creativity.
Remember, applying trivink wall decor is like orchestrating a symphony; each note must be perfectly placed for a harmonious finish.
So take your time, enjoy the process, and don't hesitate to share your masterpieces with the community.
Your walls are waiting to tell your story—let them sing with style!