
Creating paper butterfly wall decor is a delightful project that will add a touch of brightness to your space! To start, gather materials such as colorful cardstock, scissors, and glue. Select from a variety of printable butterfly templates in vibrant colors, then cut them out with wavy edges to add dimension. Assemble the butterflies by applying glue to the body and veins, and shape their antennae with thread. For an extra special touch, embellish with glitter or paint. Frame your artwork with a vintage feel using distressed paper. Arrange the butterflies creatively on your wall, and consider giving your creations as gifts. Stay tuned for more styling tips and ideas to enhance your butterfly decor!
Key Takeaways
- Select vibrant cardstock and printable butterfly templates to create visually appealing wall decor that enhances your home's aesthetic.
- Cut out butterfly shapes with wavy black borders for added dimension and apply glue to the body and veins for a 3D effect.
- Distress paper using Walnut Stain ink and wrap vintage ephemera around the frame for a charming, antique look.
- Arrange butterflies in various colors and sizes, attaching them only at the body to keep wings free for a dynamic display.
- Present your handmade butterfly wall decor as thoughtful gifts or swap designs seasonally for a refreshing home environment.

BAGAIL 8 Set Packing Cubes Luggage Packing Organizers for Travel Accessories-Cream
- Premium Durable Fabric: Resists wrinkles, stains, and wear
- Water-Repellent Material: Protects clothes from spills and leaks
- Lightweight Design: Easy to pack without adding weight
As an affiliate, we earn on qualifying purchases.
Project Overview
In this DIY Butterfly Wall Decor project, you'll create customizable Vintage Butterfly Shadow Boxes that add a vibrant touch to your home. This project is perfect for anyone looking to enhance their home decor with unique wall art.
Whether you're a beginner or an experienced crafter, you'll find that making these Paper Butterfly pieces fosters creativity and self-expression.
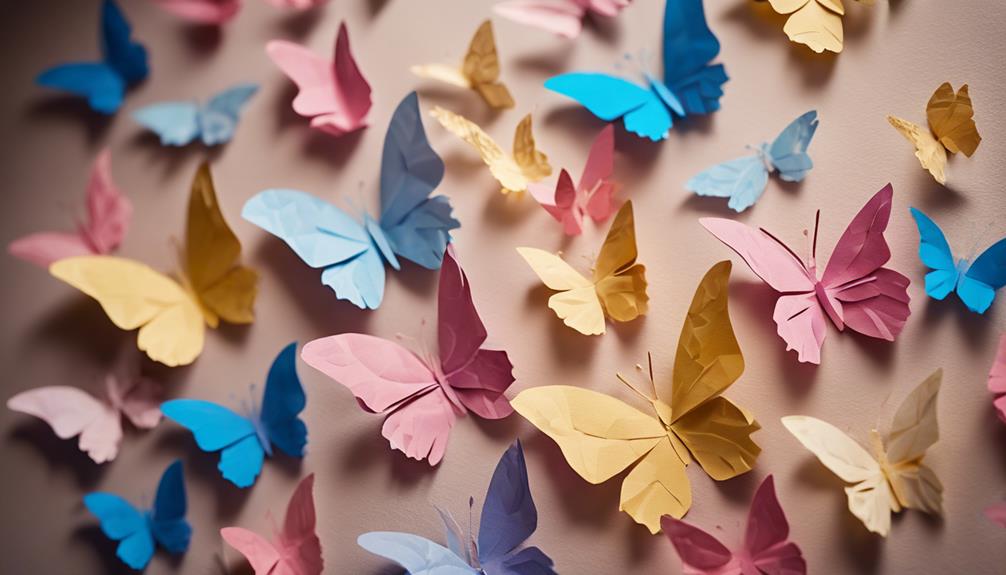
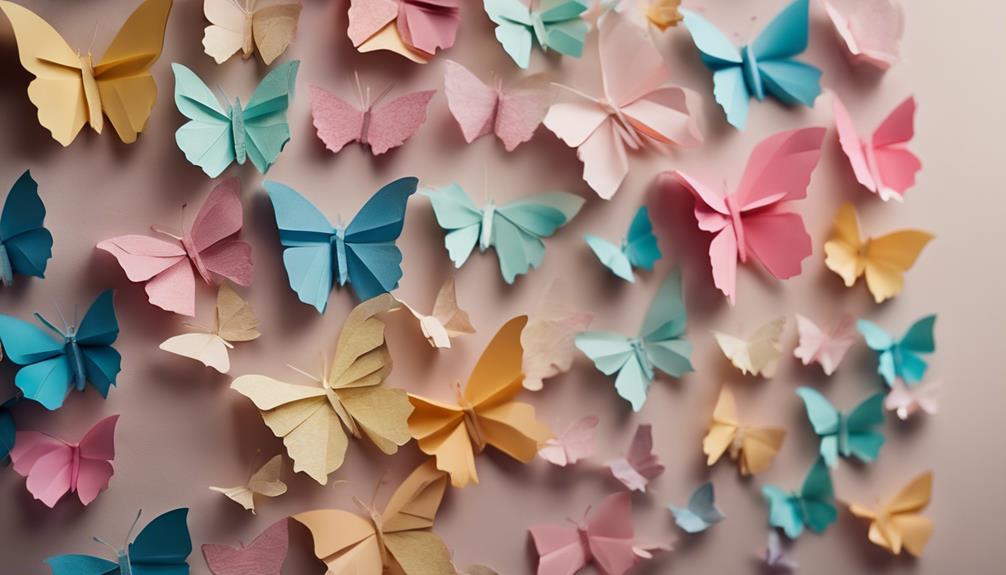
You can choose from a variety of printable butterfly templates in stunning colors like blue, pink, purple, yellow, and turquoise. This allows you to personalize each Shadow Box to match your style and the vibe of your space.
The use of distress ink and gold embellishments can add dimension and shine, making your butterflies really pop.
Materials and Tools
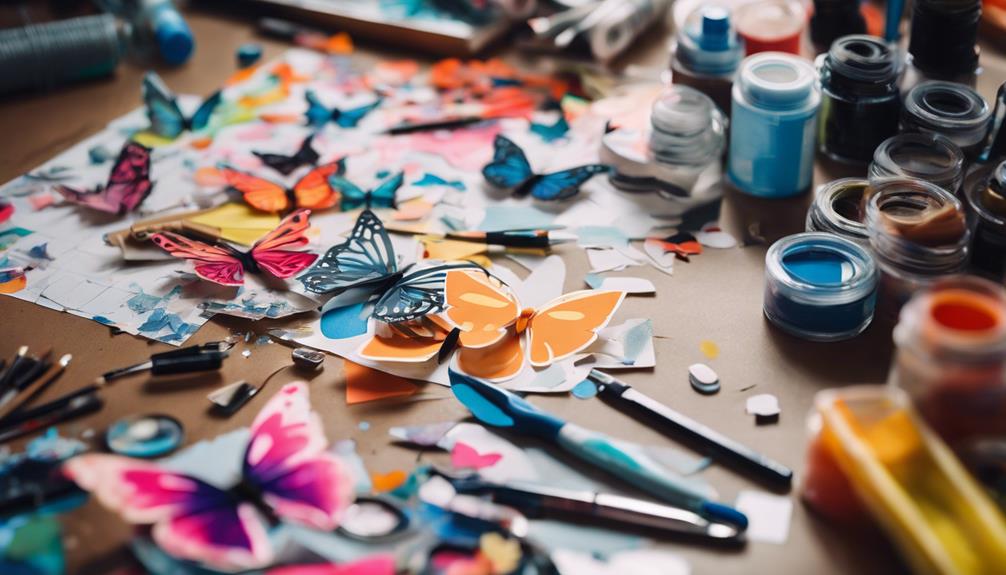
To bring your Paper Butterfly Wall Decor project to life, gather the necessary materials and tools that will help you create stunning butterfly designs. Here's a quick overview of what you'll need:
| Materials | Tools | Optional Decorative Items |
|---|---|---|
| Printable PDF templates | Scissors | Glitter |
| Colorful cardstock | Water-based glue | Paint |
| Hot glue | Metallic thread or wire | |
| Brush pen (for edges) |
Start by printing your butterfly templates on colorful cardstock, ensuring you choose hues that inspire you. Use scissors to cut out the butterfly shapes precisely. When it's time to assemble, you can opt for water-based glue or hot glue for a secure hold. If you want to add some flair, consider using decorative items like glitter or paint to enhance your butterflies. A piece of parchment paper or a plastic bag can help keep your workspace tidy while applying adhesive. With these materials and tools ready, you're all set to start crafting your beautiful butterfly wall decor!
Butterfly Assembly Process
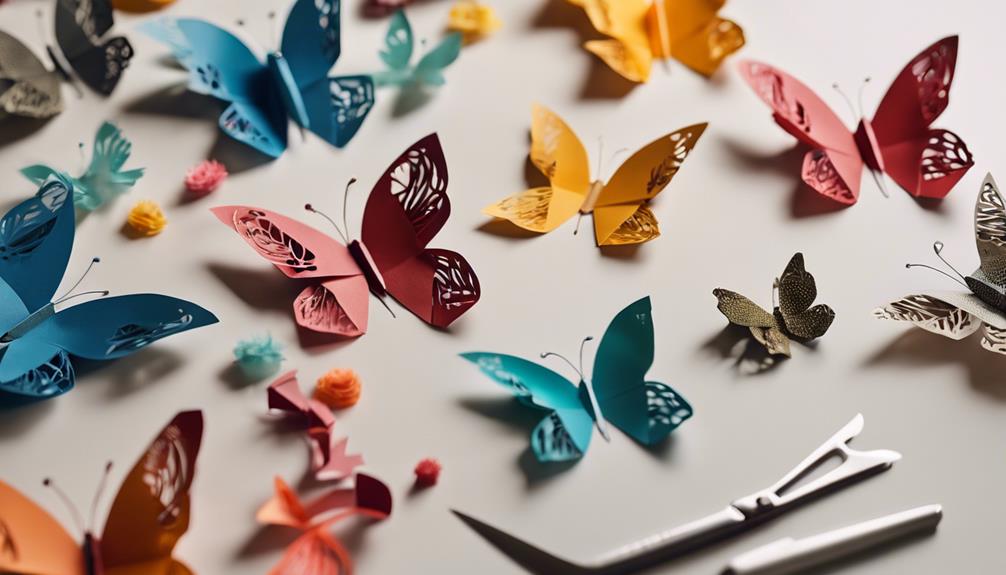
Start by selecting and cutting out your favorite butterfly shapes from colorful cardstock, ensuring you create wavy black borders for added dimension. This will enhance the visual appeal of your paper butterflies.
Next, use a Glue Gun to apply a thin layer of water-based glue to the body and veins of your butterflies. You might want to add a second layer for a more pronounced 3D effect.
Once the glue is set, shape the butterfly antennae using sewing thread and craft glue. Allow them to dry completely before attaching them to the butterfly body. To bring your butterflies to life, consider adding embellishments like glitter or paint for extra flair.
Layering multiple butterflies together can create a dynamic visual effect that captivates attention. When it's time to attach the butterflies to your wall or display, remember to only glue the body while leaving the wings free.
This way, your creations will appear lively and ready to take flight, making your butterfly assembly process both fun and visually stunning! Enjoy the transformation of your space with these delightful paper butterflies.
Background and Framing
Creating an enchanting background for your butterfly shadow box enhances the overall aesthetic, so wrap French ephemera around the back of the frame for a vintage touch. Use Walnut Stain ink to distress the paper and give it an antique look. When you glue the butterflies to the background, verify you apply glue only to the body and veins, letting the wings remain free to achieve a stunning 3D effect.
For framing, consider these options:
| Frame Type | Features | Benefits |
|---|---|---|
| 3D Photo Frame | Built-in depth | Enhanced dimensionality |
| Regular Frame | Option to remove glass | More pronounced 3D appearance |
| Shadow Box Frame | Deeper space for embellishments | Customizable depth and design |
| Floating Frame | No back, visible background | Unique display of butterflies |
Layer multiple butterflies in various colors and sizes to add depth and visual interest to your piece. Make sure your frame is securely assembled to support the weight of the butterflies and any additional embellishments you choose to include. This combination will transform your butterflies into a fascinating display.
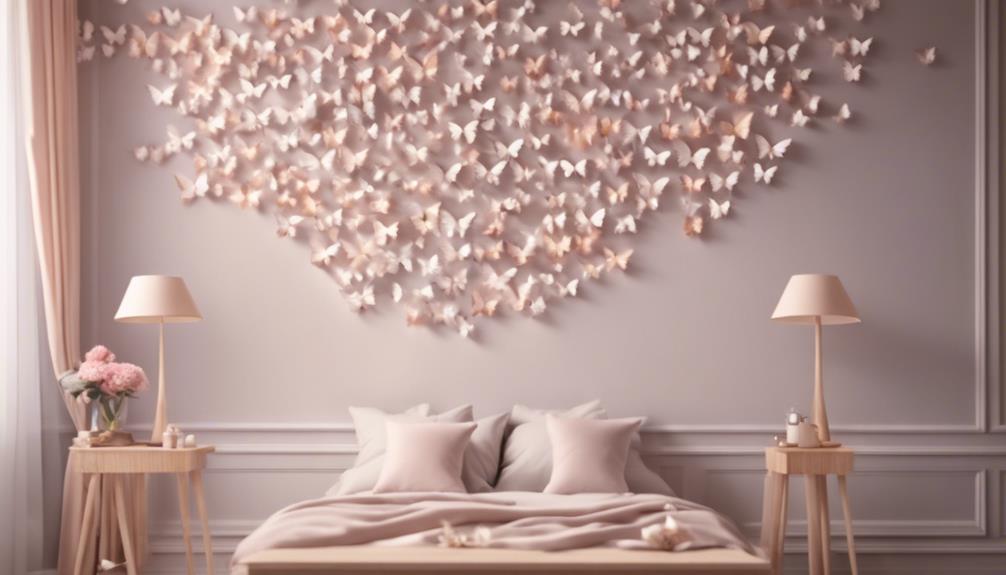
Styling and Gifting Ideas
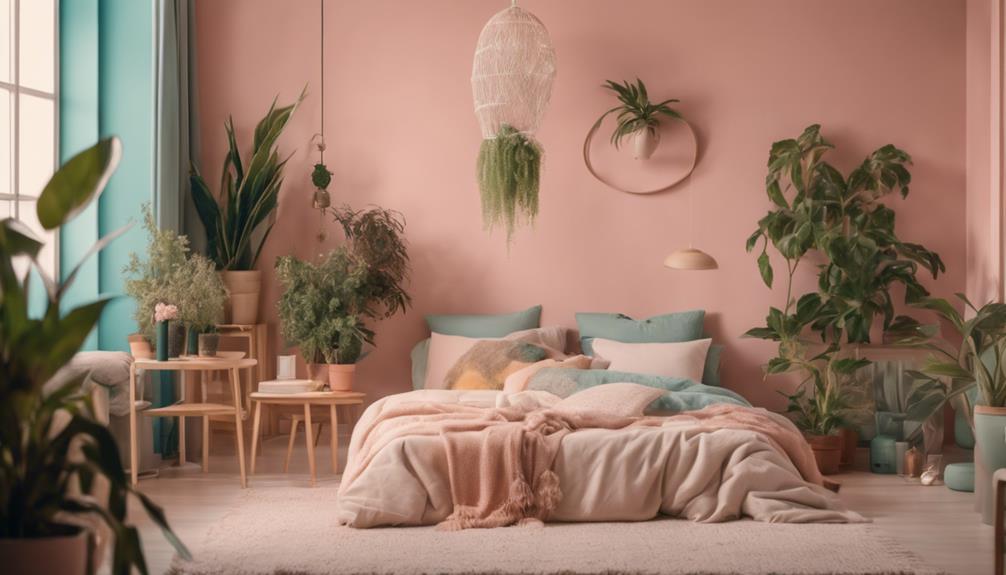
Arranging your butterfly wall decor alongside candles, vintage books, or greenery can elevate the aesthetic of your space and create a harmonious atmosphere. To enhance the overall look, make sure to choose little butterflies in colors that complement your existing decor. This thoughtful placement not only adds charm but also creates a focal point that draws the eye.
When it comes to gifting, consider presenting your handmade butterfly decor for special occasions like birthdays, housewarmings, or anniversaries. A personalized touch always resonates, and your unique creation will reflect the recipient's style beautifully.
To keep your space feeling fresh, don't hesitate to swap out butterfly colors or patterns based on the season or your mood. This versatility allows you to change your wall decor without much effort, keeping your environment dynamic.
Additionally, you can integrate your 3D butterfly designs into other projects, such as wreaths or canvas art, expanding your gifting options. Sharing your crafted butterfly wall decor on social media can inspire friends and family to engage in DIY projects, spreading the joy of creativity throughout your community.
Frequently Asked Questions
How to Make Butterfly With Paper Easy for Wall Step by Step?
To make a paper butterfly easily, trace a template onto colorful cardstock, cut it out, fold the wings for dimension, and arrange them on your wall. Secure them with tape, adjusting as needed. Enjoy!
How Do You Arrange Butterflies on the Wall?
Imagine butterflies dancing across a sky; you can arrange them diagonally from a corner, mix their orientations, and add greenery. This creates movement, flow, and a whimsical touch that brings your wall to life.
How Do You Hang Paper Butterflies?
To hang paper butterflies, you can use double-sided tape or removable adhesive dots for easy placement. For a floating effect, try suspending them with clear fishing line, or arrange them in a shadow box for structure.
How Do You Make Butterfly Wings Out of Tissue Paper?
To make butterfly wings out of tissue paper, cut large wing shapes, layer colors for gradients, fold edges for dimension, and use wire to attach them. Don't forget to embellish for added flair!
Can I Use the Same Crafting Techniques for Both Paper and DIY Butterfly Wall Decor?
Yes, you can use the same crafting techniques for both paper and DIY butterfly wall decor. With this easy butterfly wall decor tutorial, you can learn how to create beautiful butterflies using paper or other materials. It’s a versatile technique that can be adapted to various crafting projects.
Can I Use the Same Crafting Guide for Paper Butterfly Wall Decor for Easy DIY Butterfly Wall Decor?
Yes, you can use the same crafting guide for paper butterfly wall decor for easy DIY butterfly wall decor. The easy butterfly wall decor tutorial will provide step-by-step instructions on how to create beautiful butterfly decorations for your walls. With this guide, you can easily make your own stunning wall decor.
Conclusion
Creating paper butterfly wall decor transforms simple materials into stunning art.
You've taken ordinary paper and turned it into delicate, vibrant creatures, showcasing the beauty in both fragility and strength.
As you hang your butterflies, they flutter in your space, bringing life to your walls.
Whether you keep them for yourself or gift them to someone special, these charming decorations serve as a reminder that something small can bring immense joy and color into our lives.